archinicholas Thanks for putting the time in to learn the software. I'll do my best to answer your questions here, though I would suggest that in addition to reading these answers, that you:
- Take a look at the tutorial videos - almost all of them are under 10 minutes, with an average running time of around 6-7 minutes each - I think that it is time well spent - perhaps while running a simulation in the background ;-P FYI - the tutorials shouldn't be confused with the webinars - the tutorials are meant to be short and only cover a single feature each, the webinars are much longer and cover complete topics. - here is a link to a tutorial on tet meshing for example: https://zivadynamics.com/resources/ziva-tet-mesh - the write-up on the webpage should hopefully also be helpful.
- Check out the documentation - as of this writing, it doesn't have a step-by-step guide, but it is quite through about describing the meaning of the parameters, and should hopefully give you a better mastery of the tool: https://docs.zivadynamics.com/vfx/
- Check-out other threads on the community - lots of great insight can be gained by reading about others' projects.
- Watch a webinar - these are a great resource to see how you might approach an entire rigging challenge - some of the older webinars were recorded pre version 1.4, so some of the step-by-step instructions will need to be modified to take into account some of the new features that were introduced. (The tutorials should all be up-to-date though): https://zivadynamics.com/resources/webinar-videos
Now, to answer your questions. . .
I would avoid simulating a separate fascia - since version 1.4, we have been encouraging users to instead apply surface tension and pressure to the inner surface of the fat, to act as a "fascia" - This should yield better simulation results, and reduce your simulation time by up to 50 %. Here is a link to a video that demonstrates how to do this: https://zivadynamics.com/resources/fat-skin-workflow
If following this advice, your simulation passes would look something like this:
- simulate muscles -> export muscles and bones to alembic
- import alembic of muscles and bones , convert to zBone -> simulate fat & skin
This thread on the community has some really great illustrations to help to clarify the process:
https://community.zivadynamics.com/d/357-new-to-ziva-have-a-couple-of-questions
Here are some other threads that have touched on this same topic:
https://community.zivadynamics.com/d/349-lion-project/2
https://community.zivadynamics.com/d/351-dog-project
https://community.zivadynamics.com/d/352-kung-fu-gorilla
https://community.zivadynamics.com/d/341-about-fascia
Regarding simulation speed, there are a number of parameters that will have an impact on this:
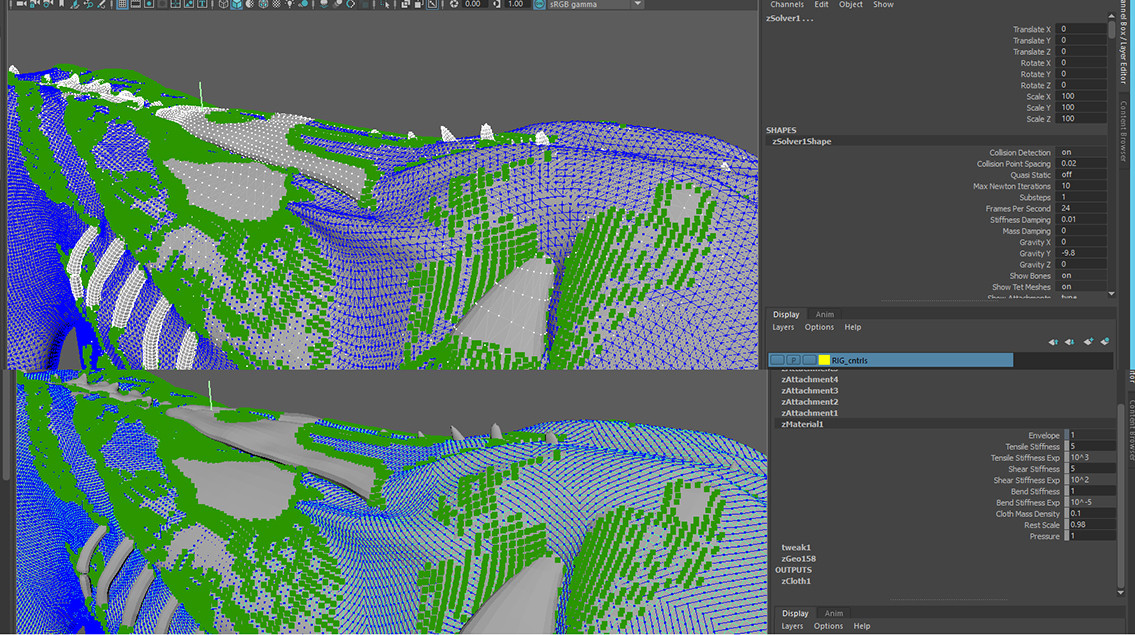
- Tet resolution - take advantage of our paintable tet resolution feature to add tets where you need them, rather than making your character uniformly high resolution. Remember, the tet resolution only needs to be high enough to capture the desired deformations. On average, it should be significantly lighter than the embedded surface.
- Collision point spacing - this attribute (found on the solverShape node), determines the spacing of the collision points over the embedded surface to be tested, and is represented in Maya units. If you are simulating a creature that is very large, relative to the Maya units of your scene, be sure to increase this number, so that the solver doesn't spawn an unnecessary number of points to test for collisions.
- substeps - each substep advances the entire dynamic state of the solver. if you double this number, you will double your simulation time.
- Avoid hard attachments and collision response - this has been hidden in the UI in 1.5 (with the intention of removing it completely in a future release) - these behave exactly the same as their "soft" counterparts, but take longer to solve.
- Consider simulating a lower resolution mesh and embedding the high resolution "hero" mesh - lower resolution meshes will result in less proxy-points when creating attachments, which will have some impact on your simulation time (especially if your tet mesh is high resolution)
- Don't use inertial damping if you don't need to - this will have a noticeable impact on your simulation time if it is used unnecessarily. (conversely, if this results in wild motion that are hard to resolve with collisions, reducing its use could actually increase your simulation time - you'll have to use you best judgement here)
- Keep max newton iterations at 10 - sometimes, people reduce this number to speed up their simulation time. This could have the unintended effect of making the sim unstable and ultimately slower to solve - and/or achieve undesirable results. You might be able to get away with this if you choose to use a co-rotational material instead of StVK (though I wouldn't recommend it, as the results won't look as nice)
- Don't use "volume conservation" if not needed - the volume conservation feature looks really nice, but it is significantly more expensive to compute than poison's ratio. If speed is more important than quality, lean more heavily on poison's ratio.
Regarding your fascia problems . . .
The collisions are likely failing - our current collision model uses point in volume tests, which works best with closed surfaces - this is one of the reasons why we recommend combining your "fascia" as a material setting on the inner surface of the "fat" rather than run it as a separate simulation pass. As mentioned above, you should see a vast improvement in both simulation time, and robustness if you make this change.
I hope you find this helpful.
Keep us apprised with your progress!
-jj