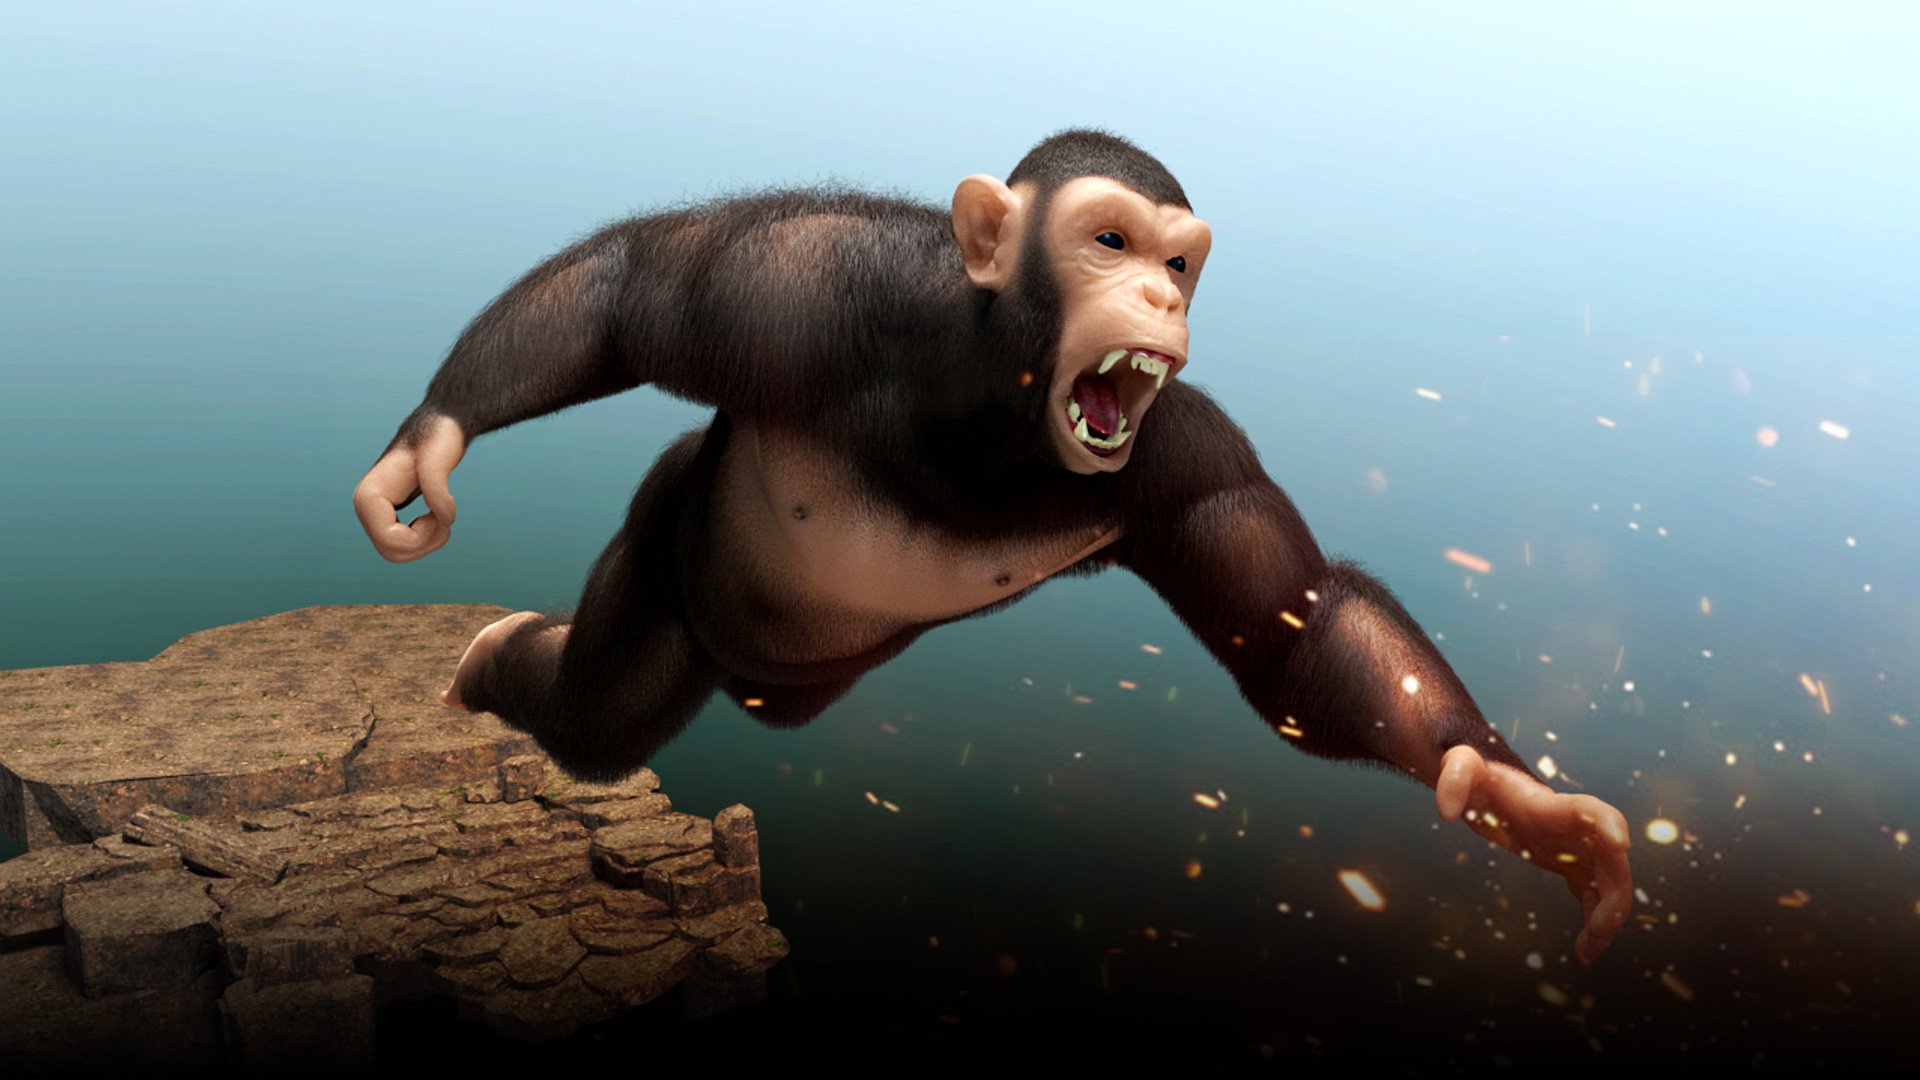
Hello guys, how are you! I would like to share with you the steps of this project that I developed from Chimp.
I created the whole structure of muscle modeling, rigging, animation and simulations with ziva dynamics of fascia, fat and Skin. I created the hair with VRay Fur and post-production with After Effects.
The objective is to show the workflow I followed and try to help those who are taking the first steps in the area of cfx muscle with ziva dynamics and, if possible, collect feedbacks to help me improve. Hope you like it.
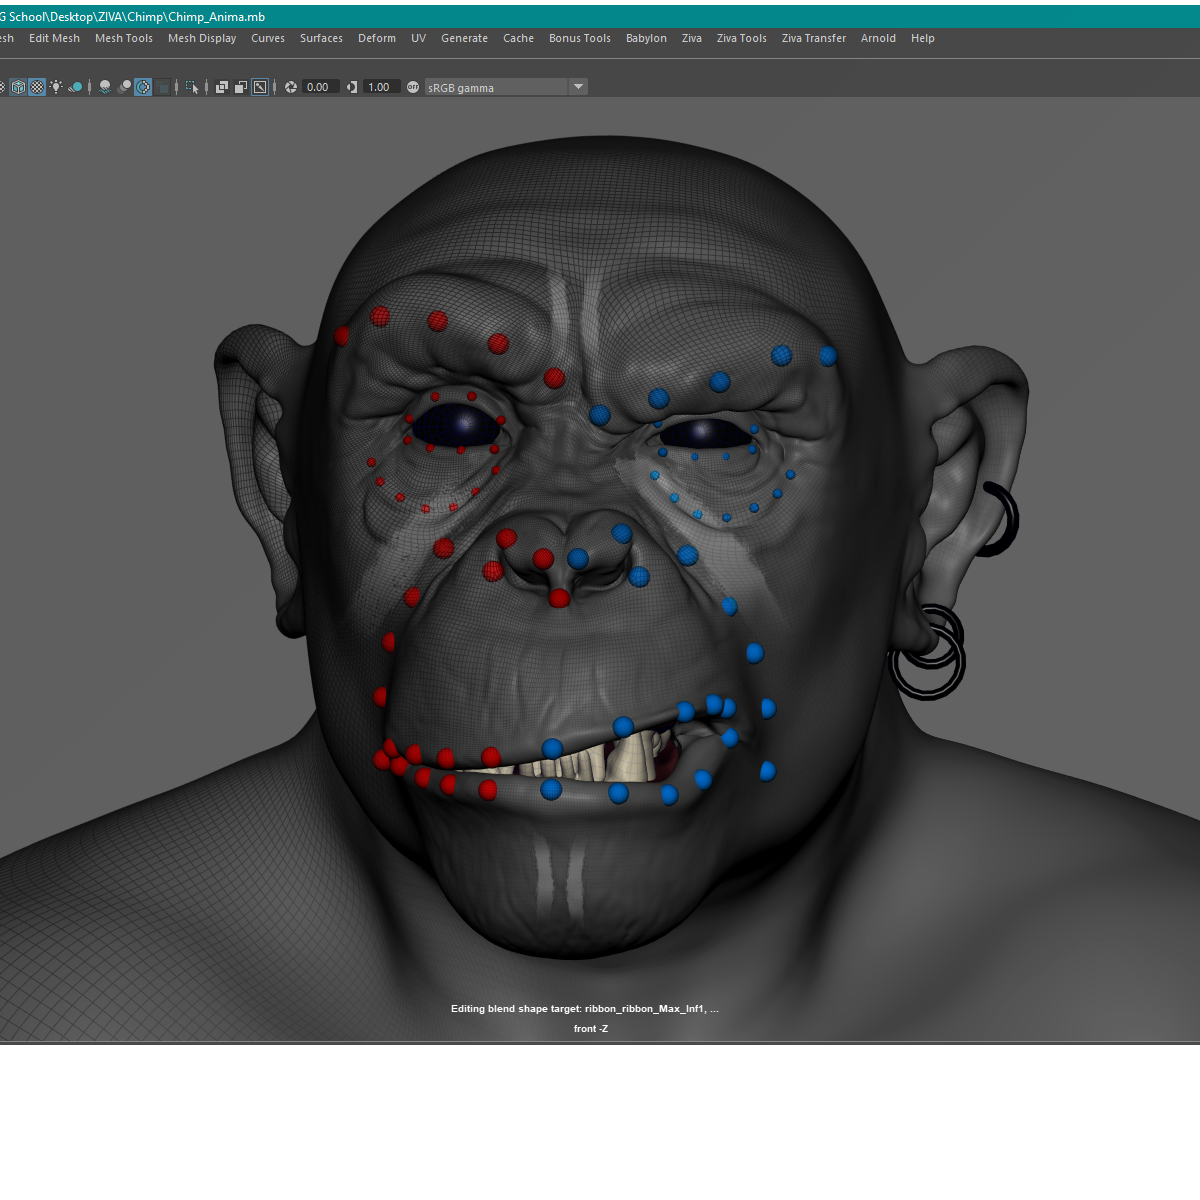
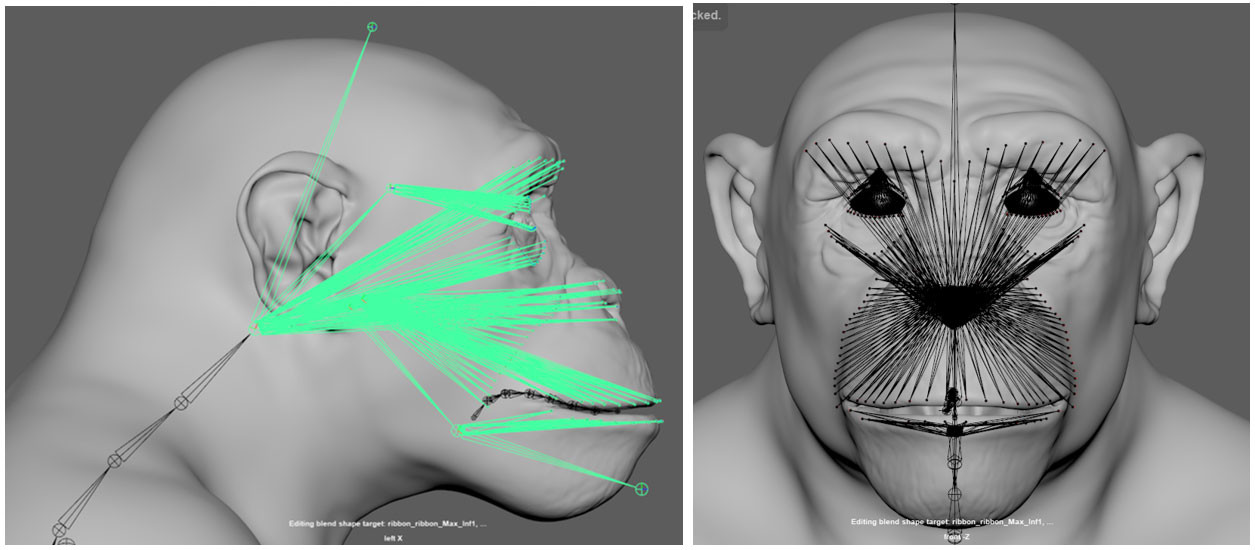
1 First create the joints structure based on the mesh:
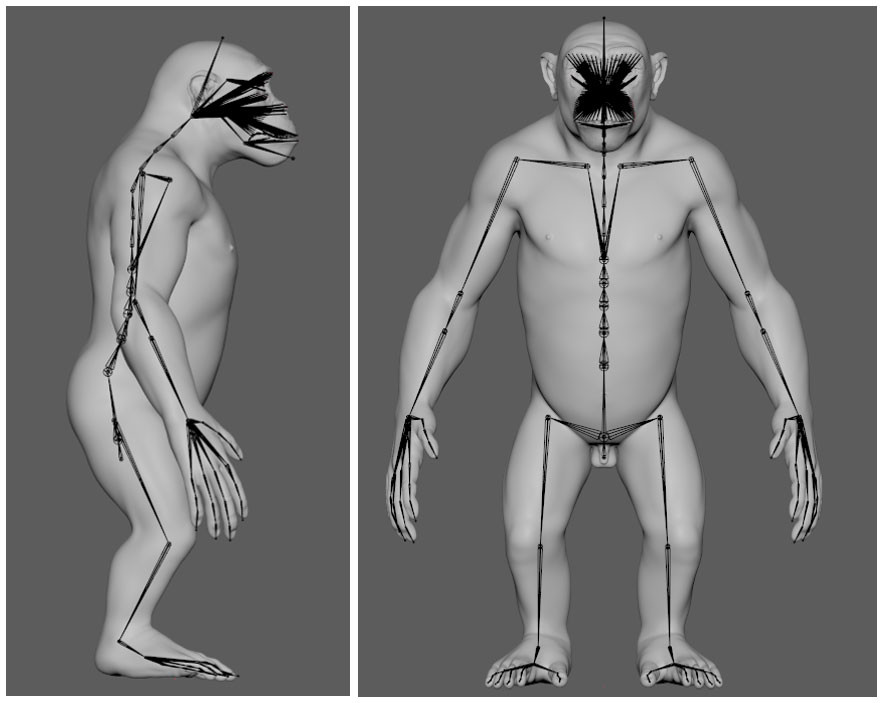
I created this structure of joints on the face combined later with BlendShapes to be able to generate more detailed facial expressions.
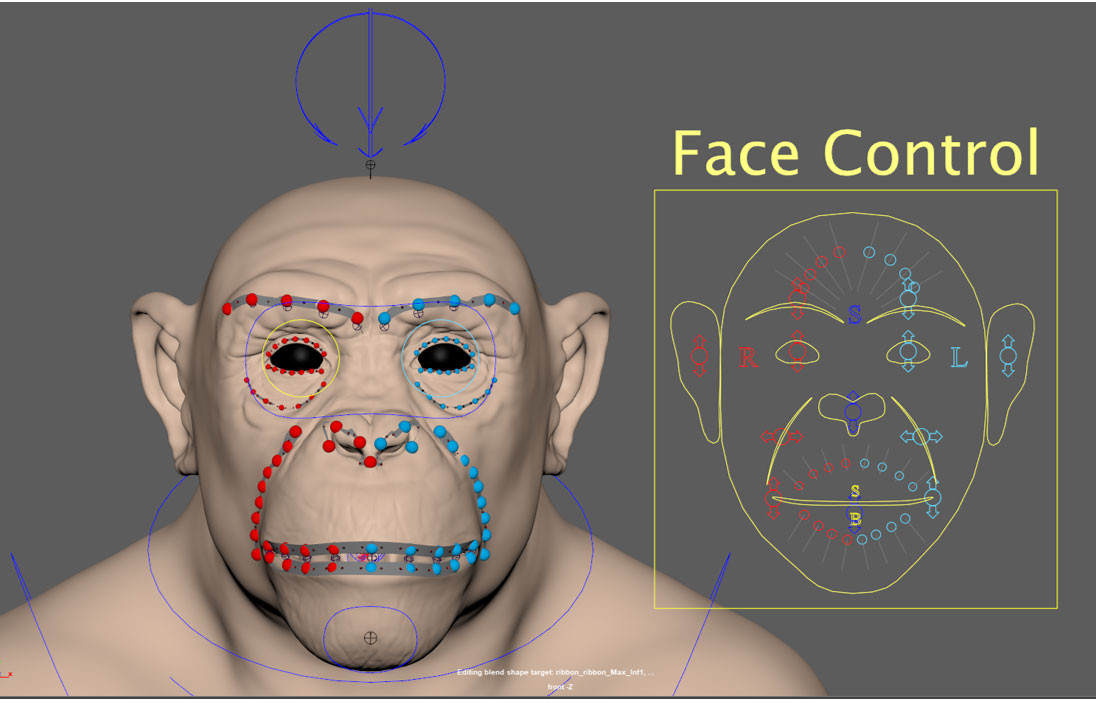
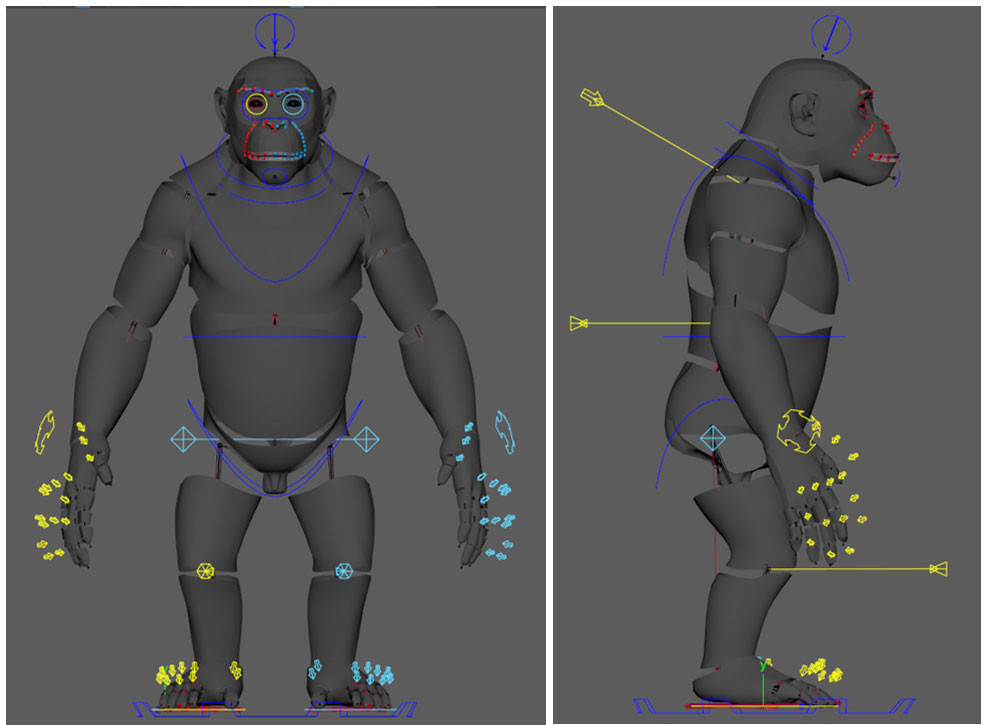
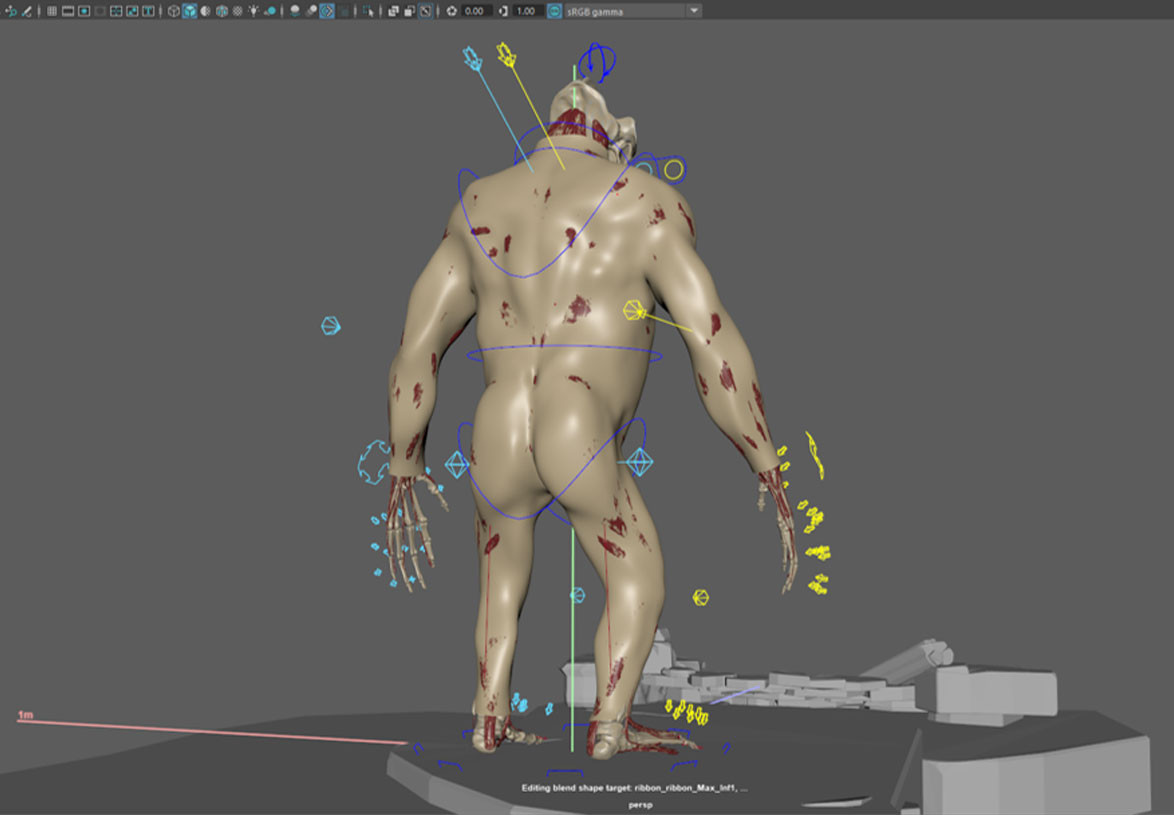
2 Right after, I created the structure of controls with shapes:

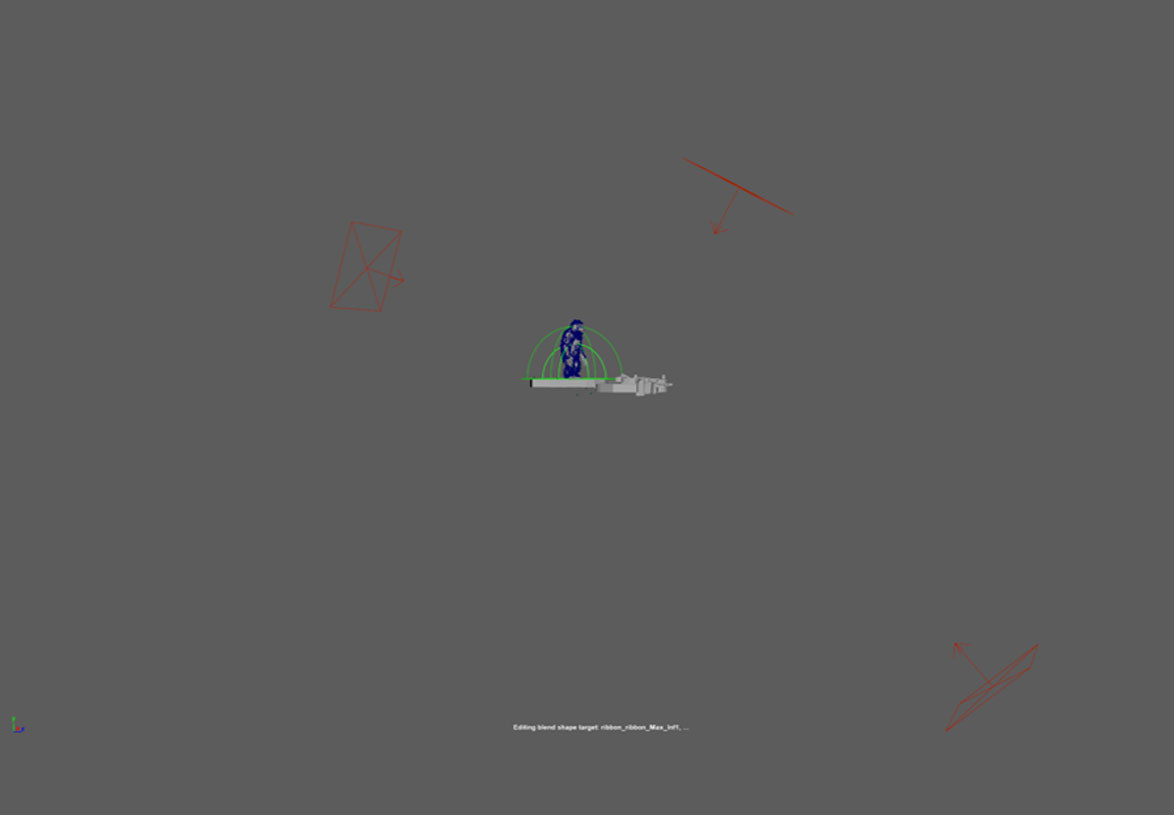
In the case of the face I created more controls like ribbon to generate the facial expressions:
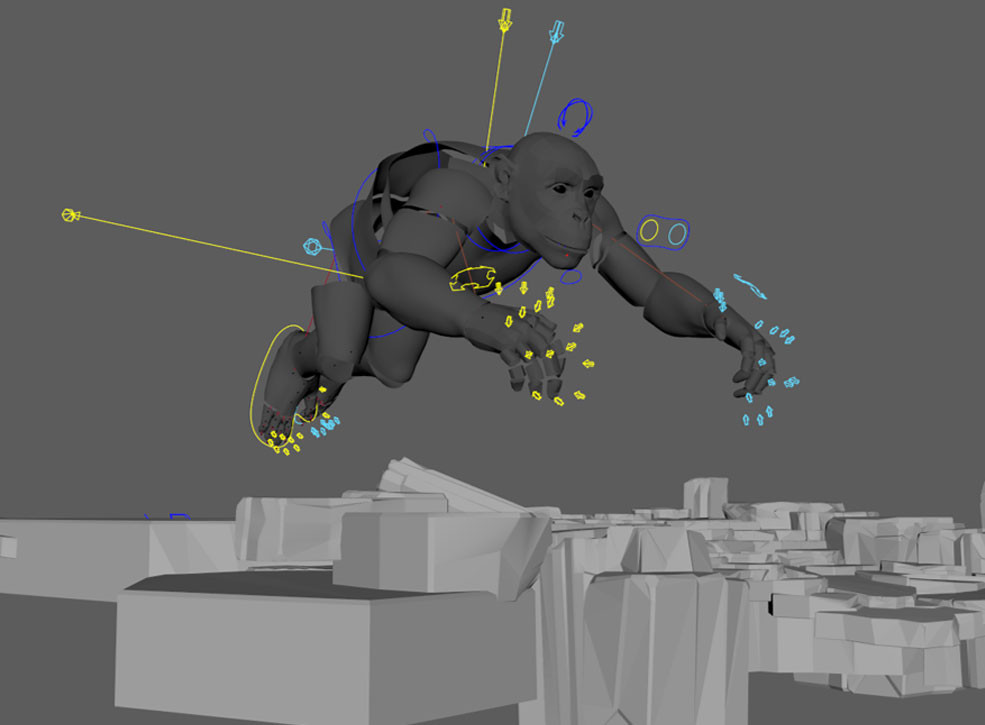
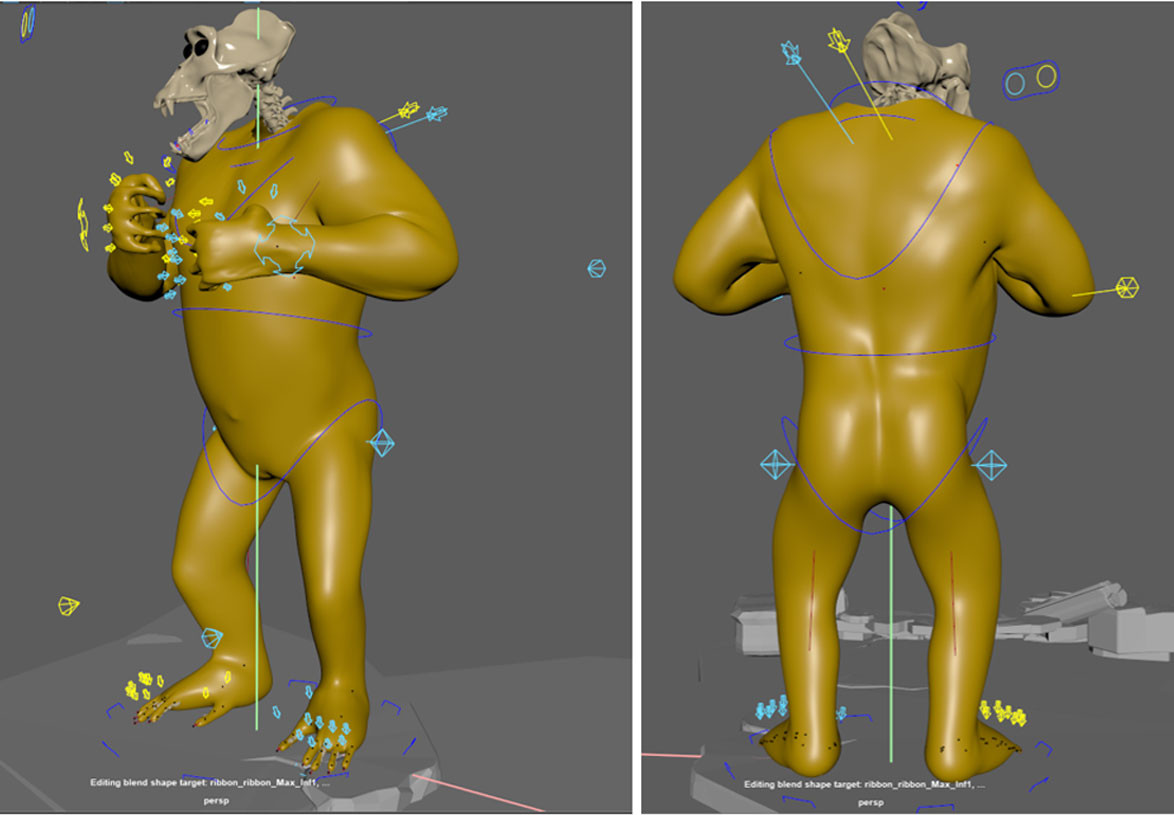
3 Before animating, I created a Lowpoly geometry based on Highpoly and made the relative with the joints corresponding to each part:
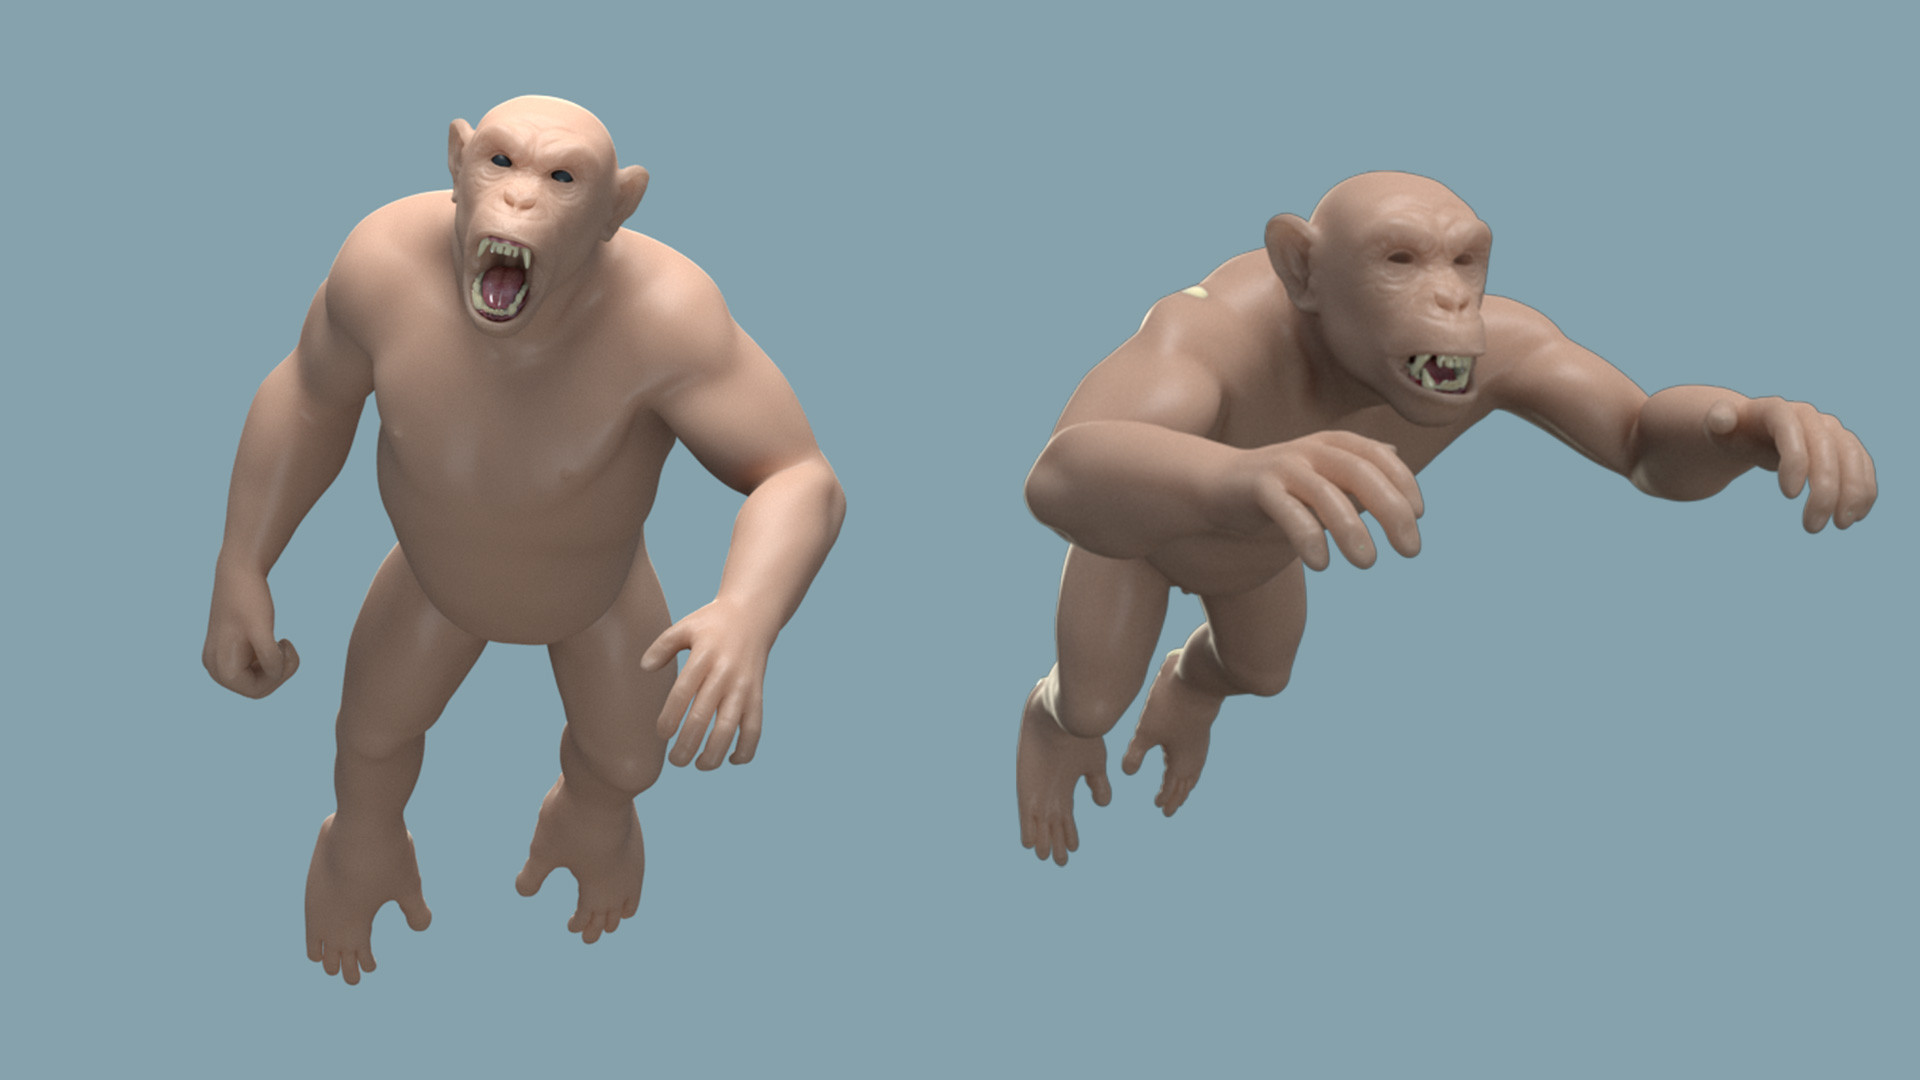
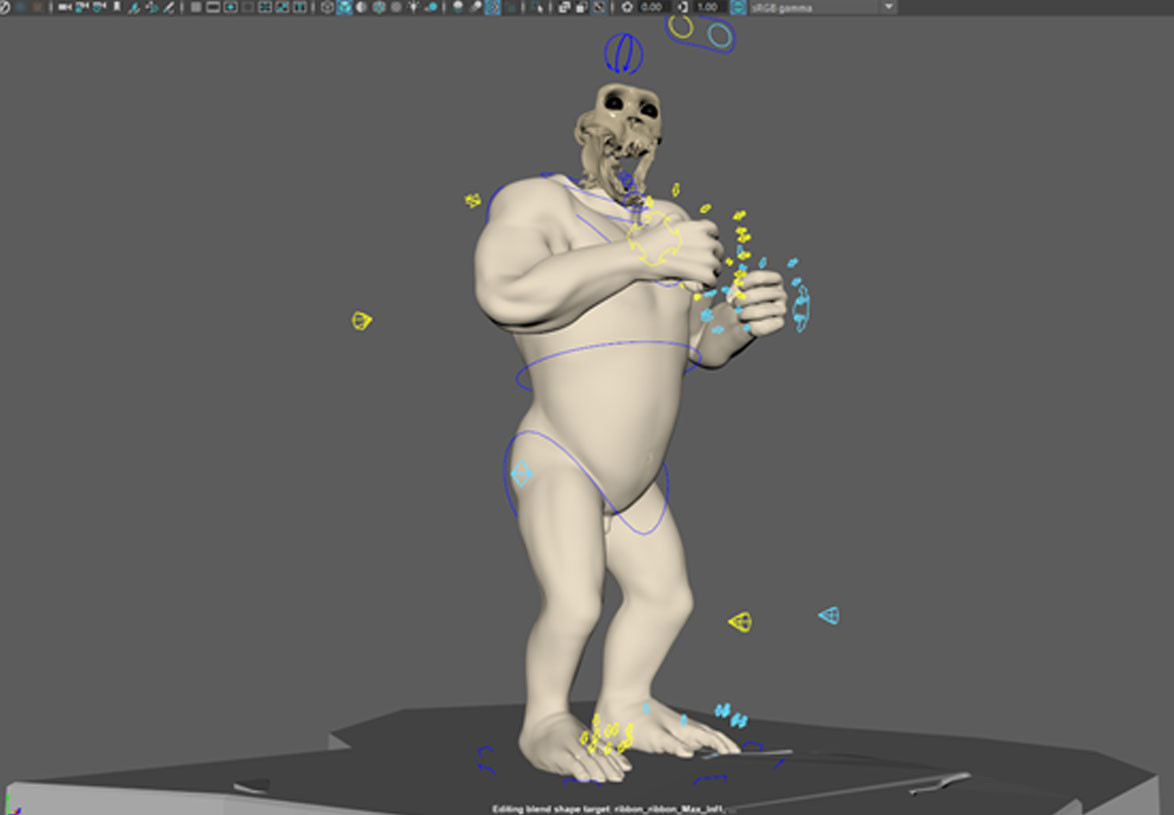
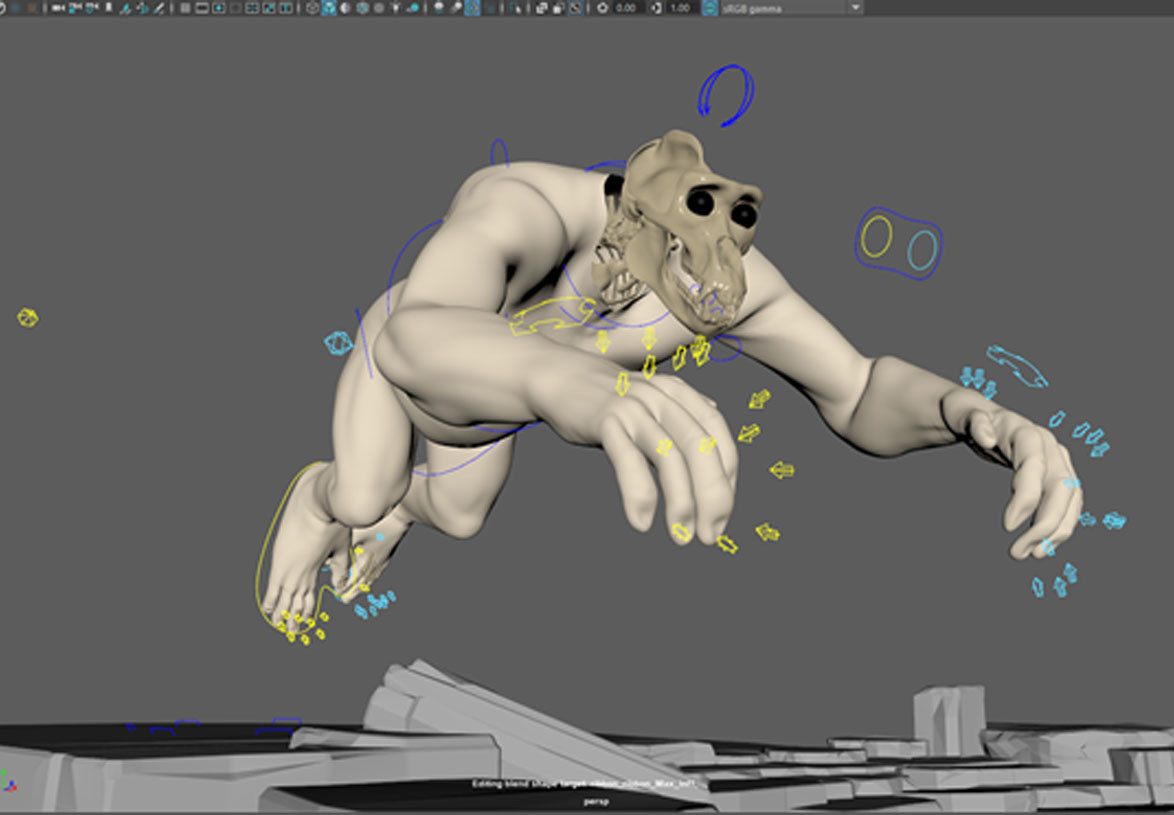
4 Having all the parts lowpoly connected to the joints, I created the animation.
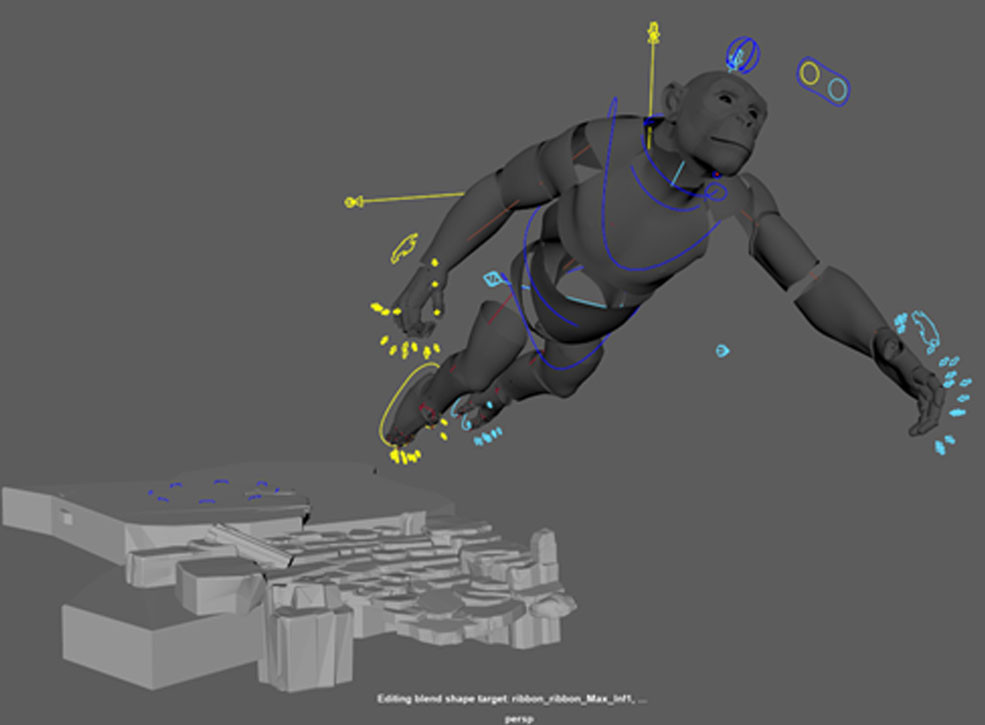
5 After the animation was done, I connected the bone meshes to the joints:
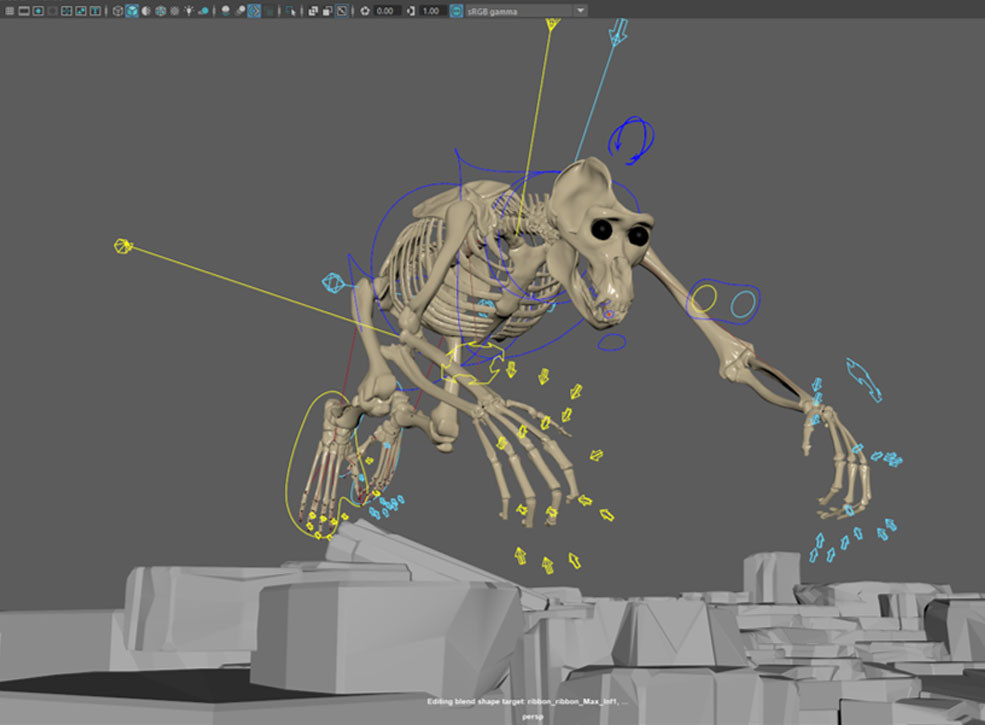
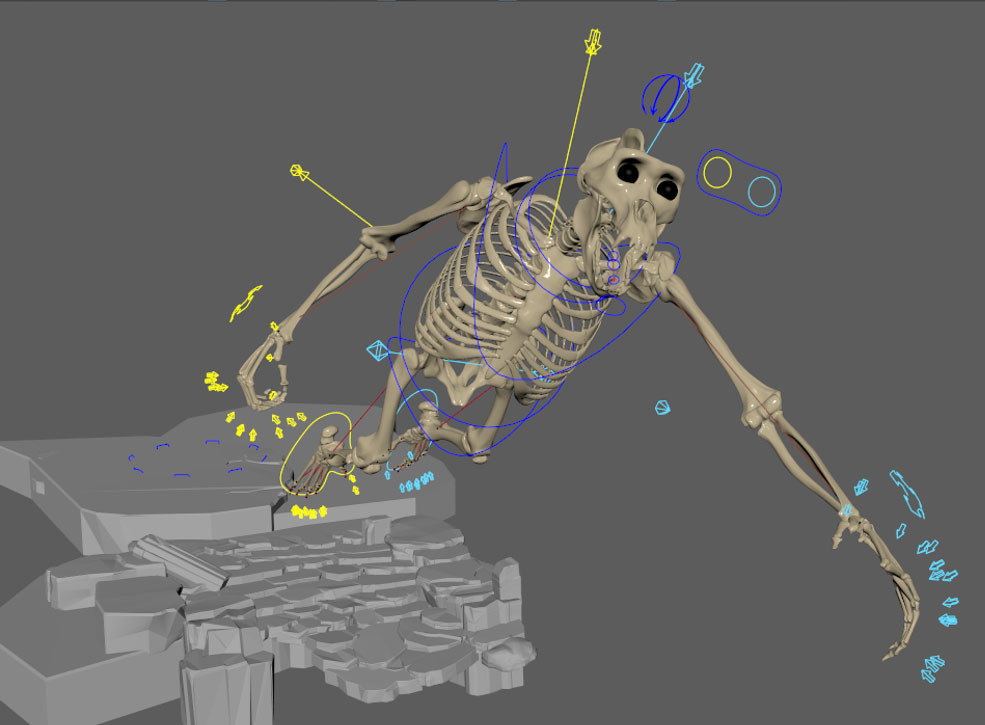
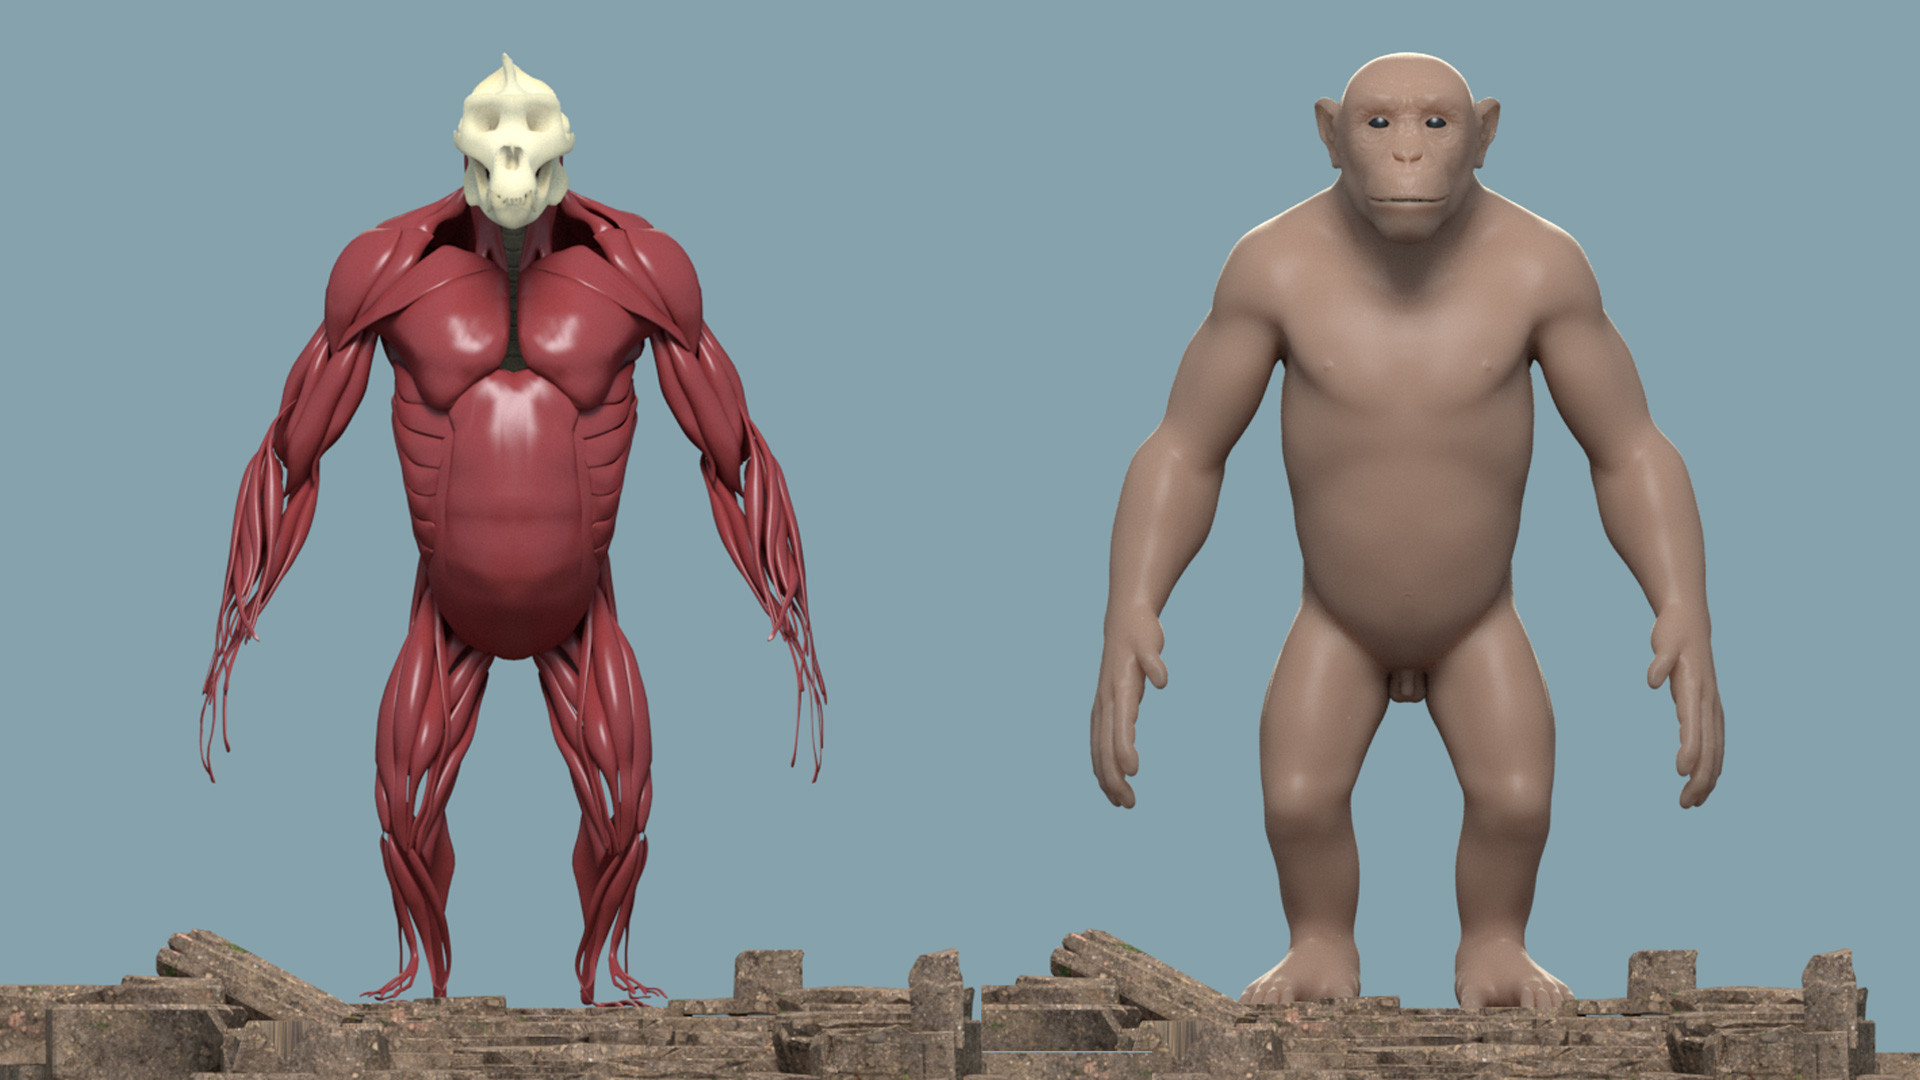
6 Right after that comes the step of simulating the muscles with Ziva Dynamics. In this case I converted all the objects in the skeleton to bones and all the muscles:
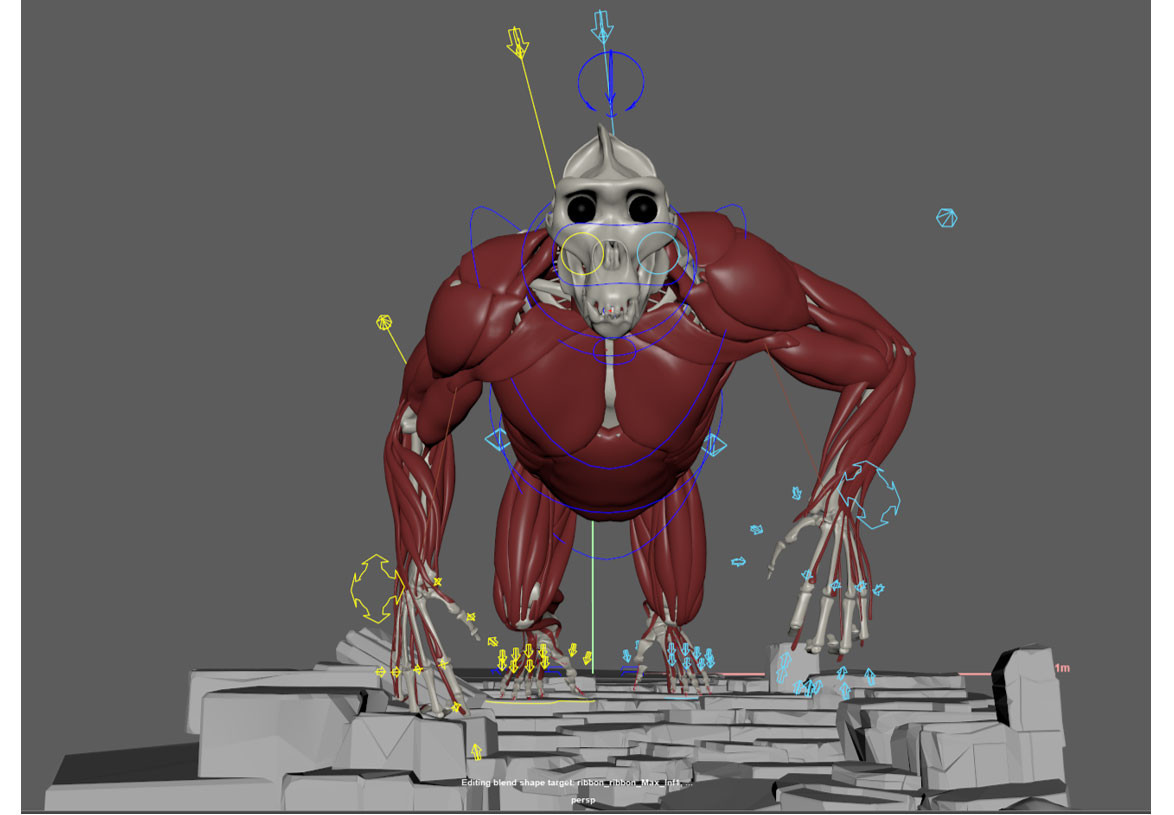
7 After a few hours of studies to calculate the simulations, I managed to arrive at the result that I believe to be acceptable 😊

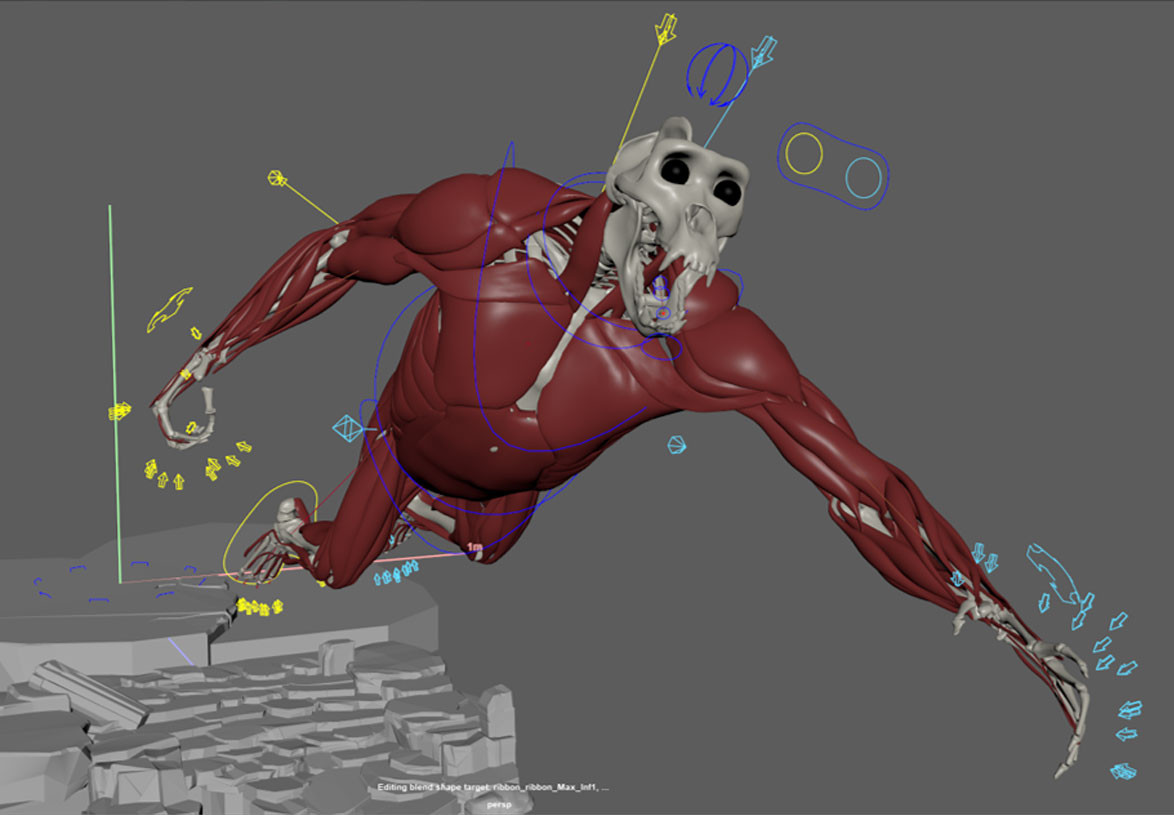
8 After completing the muscle simulation calculations, I exported as Alembic.
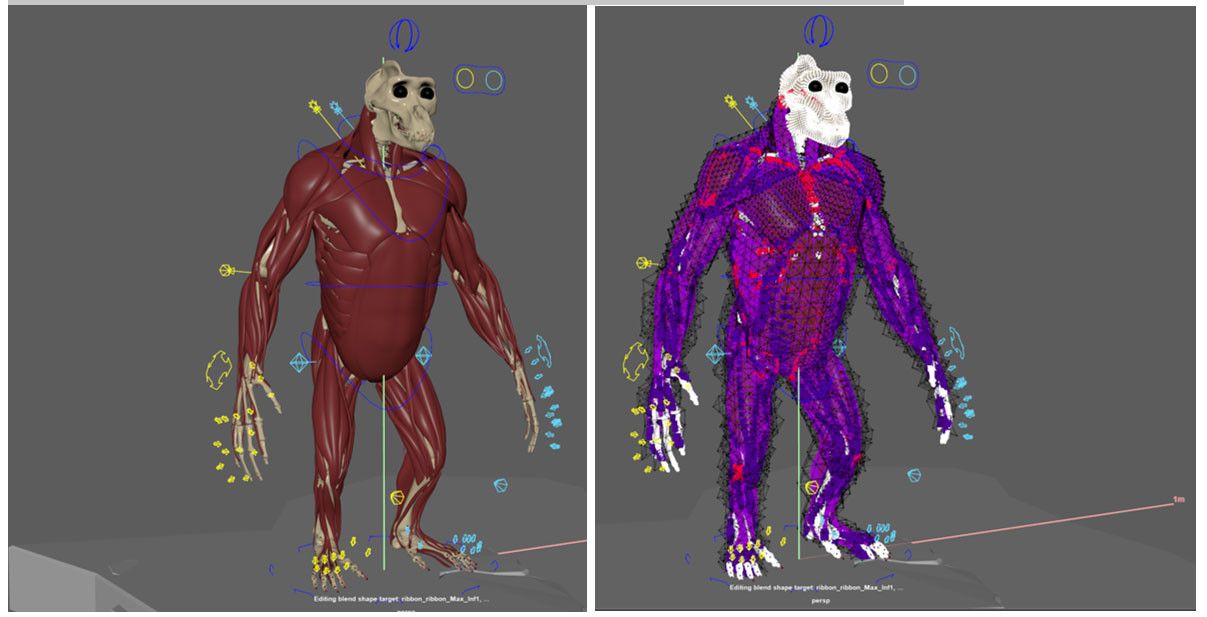
9 The next step was to create the Fascia. For the creation of the fascia I used the same lowpoly mesh as the Chimp and made the fixation and deformation calculations based on the muscles:

10 After having managed to generate the fascia, I exported the simulation in Alembic.
11 Now it's the fat's turn. With the fascia calculated in Alembic, I imported the fat mesh and made the settings until reaching a satisfactory result.
12 After having managed to generate the fat, I exported the simulation to Alembic.
13 Now it's the skin's turn. With the fat calculated in Alembic, I imported the skin mesh and made the settings until reaching a satisfactory result.
14 After having managed to generate the skin, I exported the simulation in Alembic.
Now it's time to unite the skin of the body with the facial animation of the Chimp's head.
15 In a new scene with the skin calculated in Alembic, I imported the mesh of the head already with the animation. In this step I found a challenge to join the two meshes without leaving residues of their separation, so I created a technique that at first worked well.

16 With the two meshes selected, I applied the Mesh / Combine command.
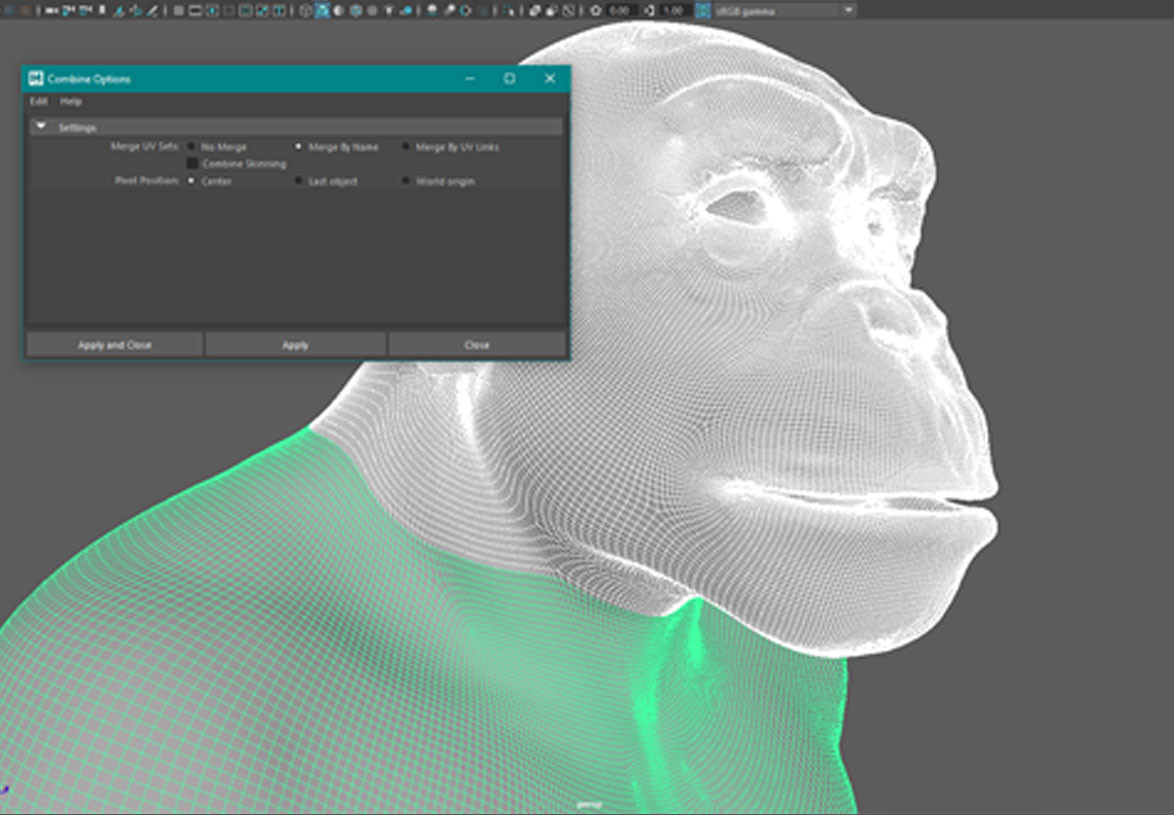
17 In the process, I realized that this command kept the meshes separate, so I created a copy of the model. The problem is that the copy does not take the animation. But why then did I create the copy? Look...
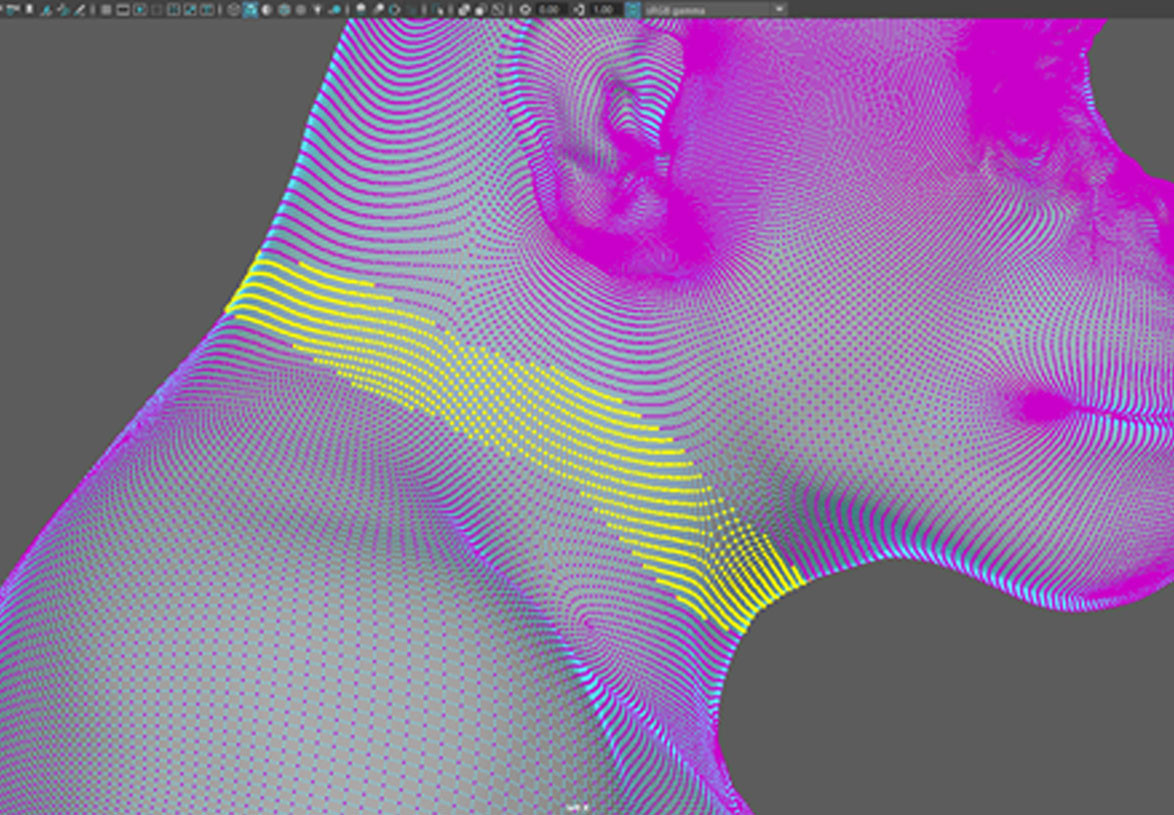
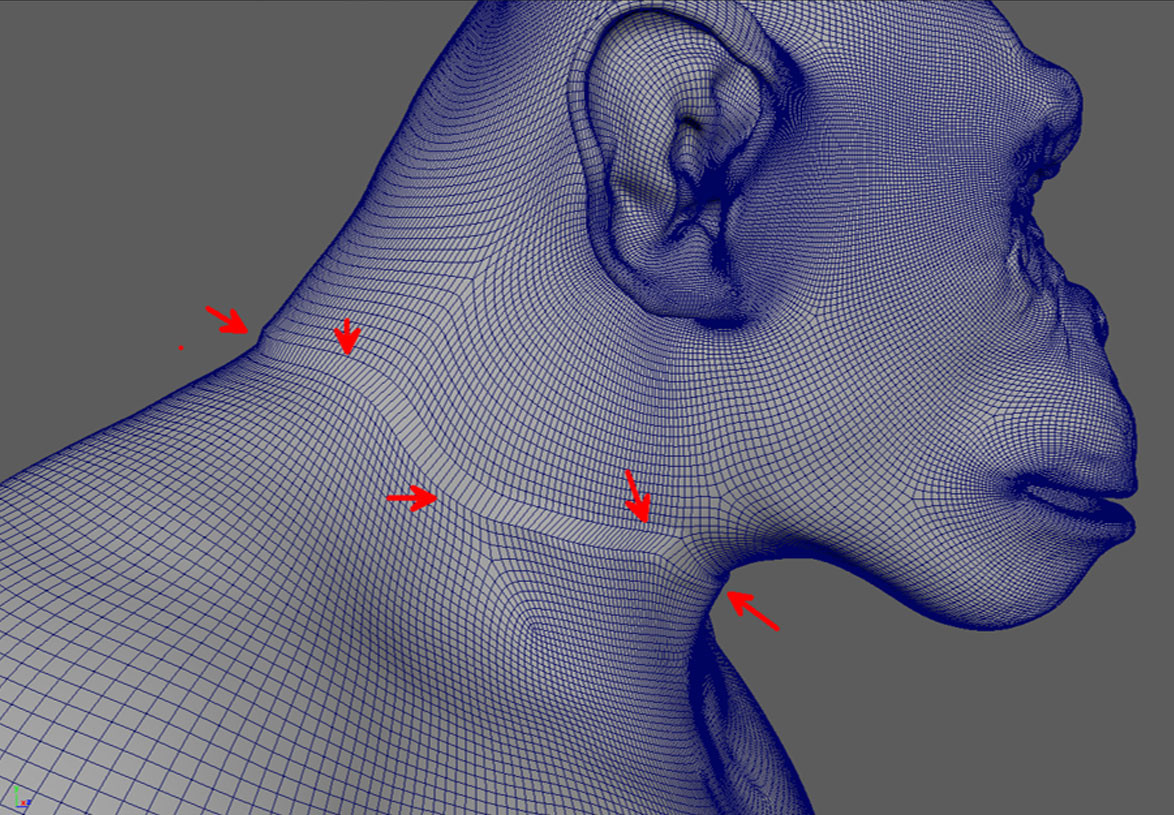
18 With the copy selected, I made the selection of vertices in the open region of the mesh.
19 Right after, I applied the Edit Mesh / Merge command with the value defined below:
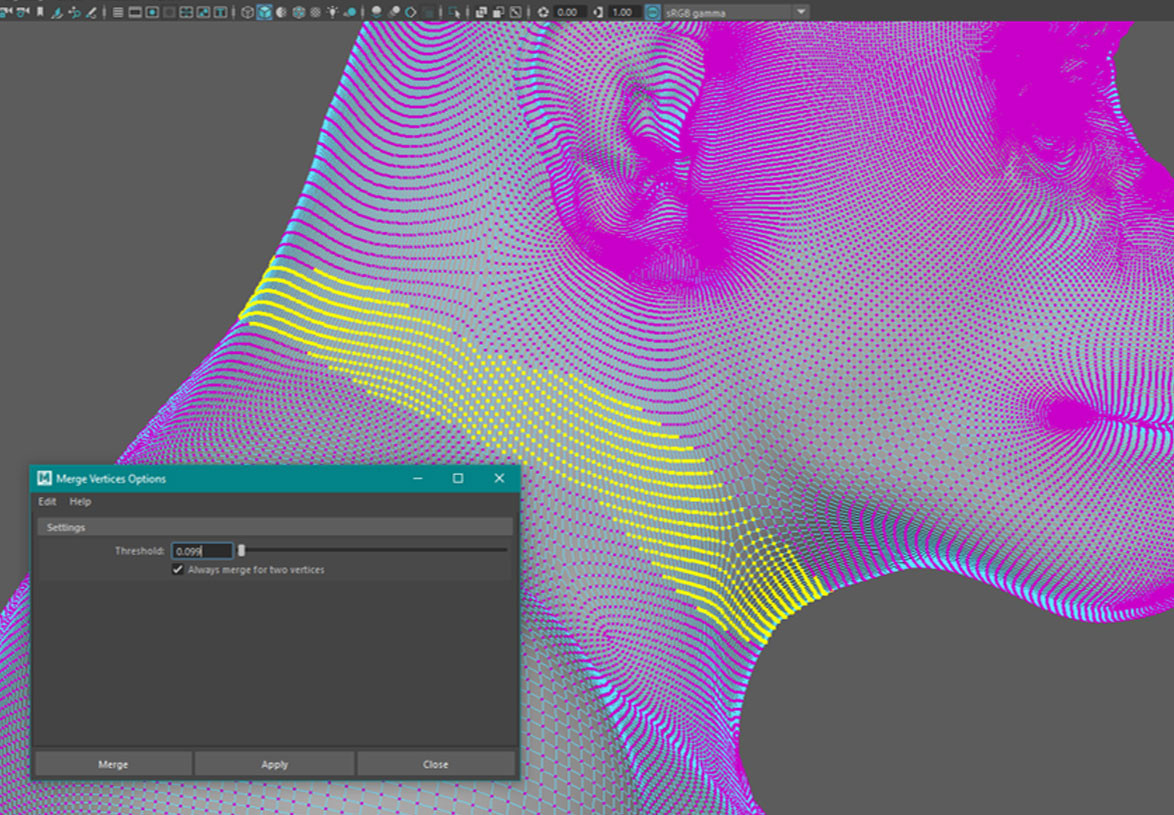
20 After this step I delete the command history applied to the copy.
Transferring the base animation to the copy.
21 I select the copy and then the animated mesh. Then I applied the Deform / Wrap command.
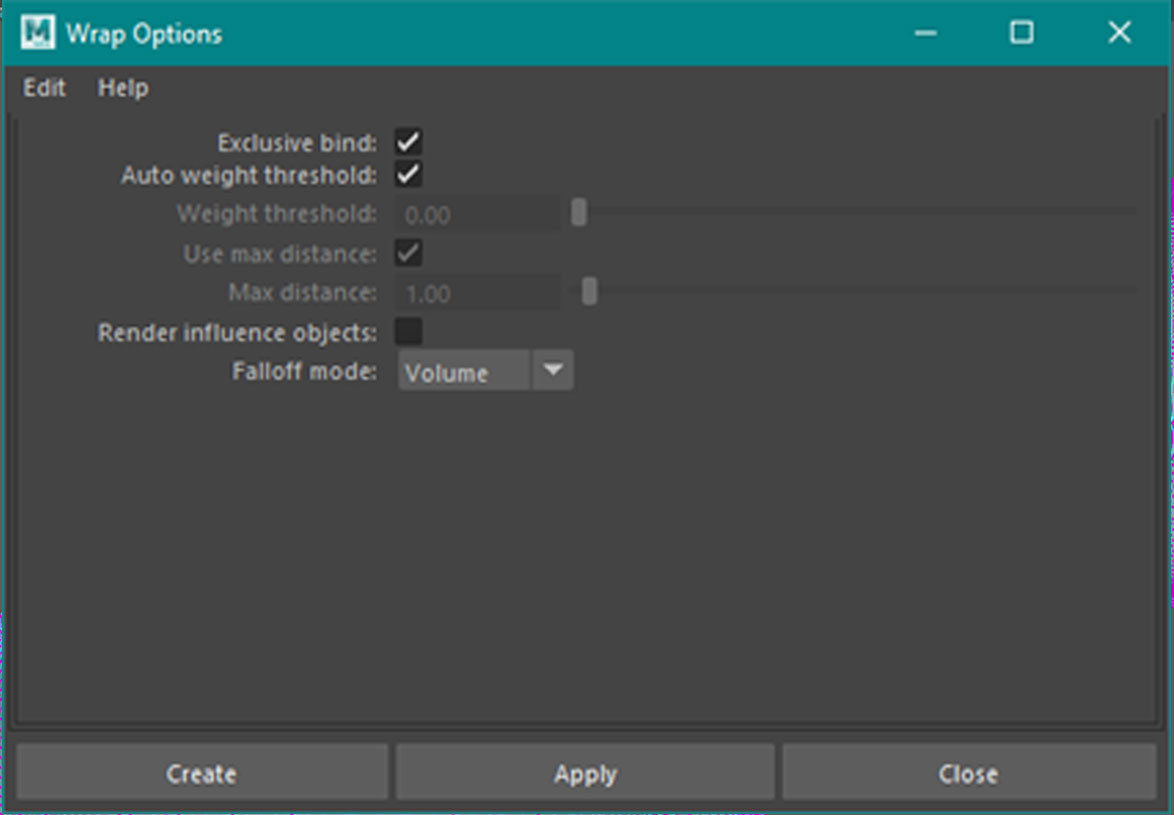
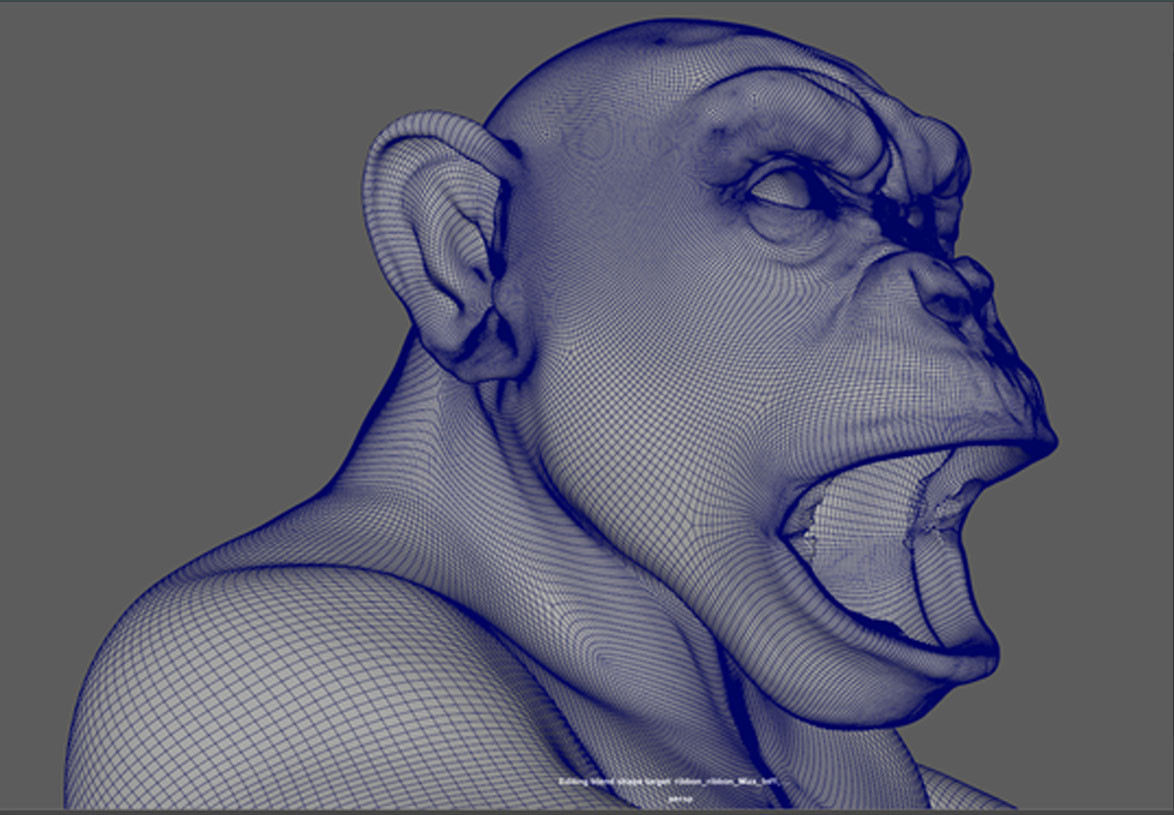
22 I hid the original mesh and when I ran the animation the result was this:
The solution I found for this problem.
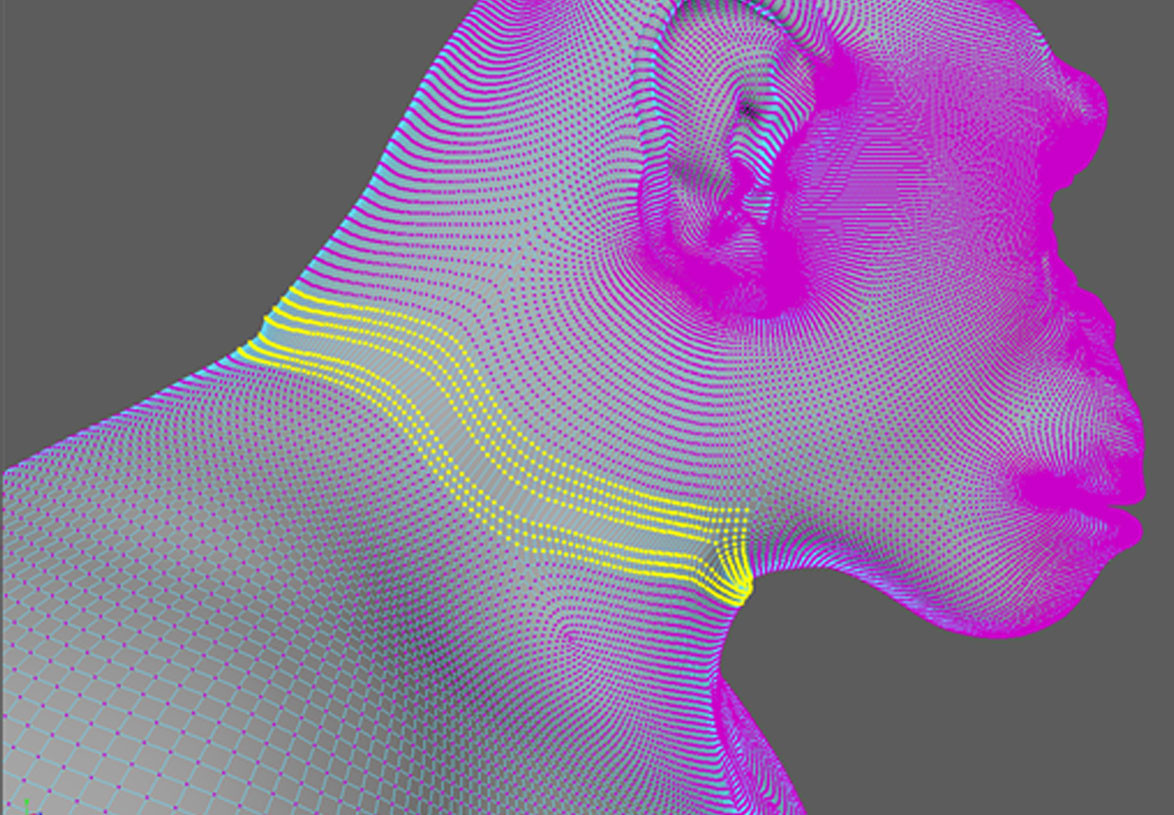
23 I selected all the vertices of that region.
24 I applied Delta Mush through the Deform / Delta Mush menu.
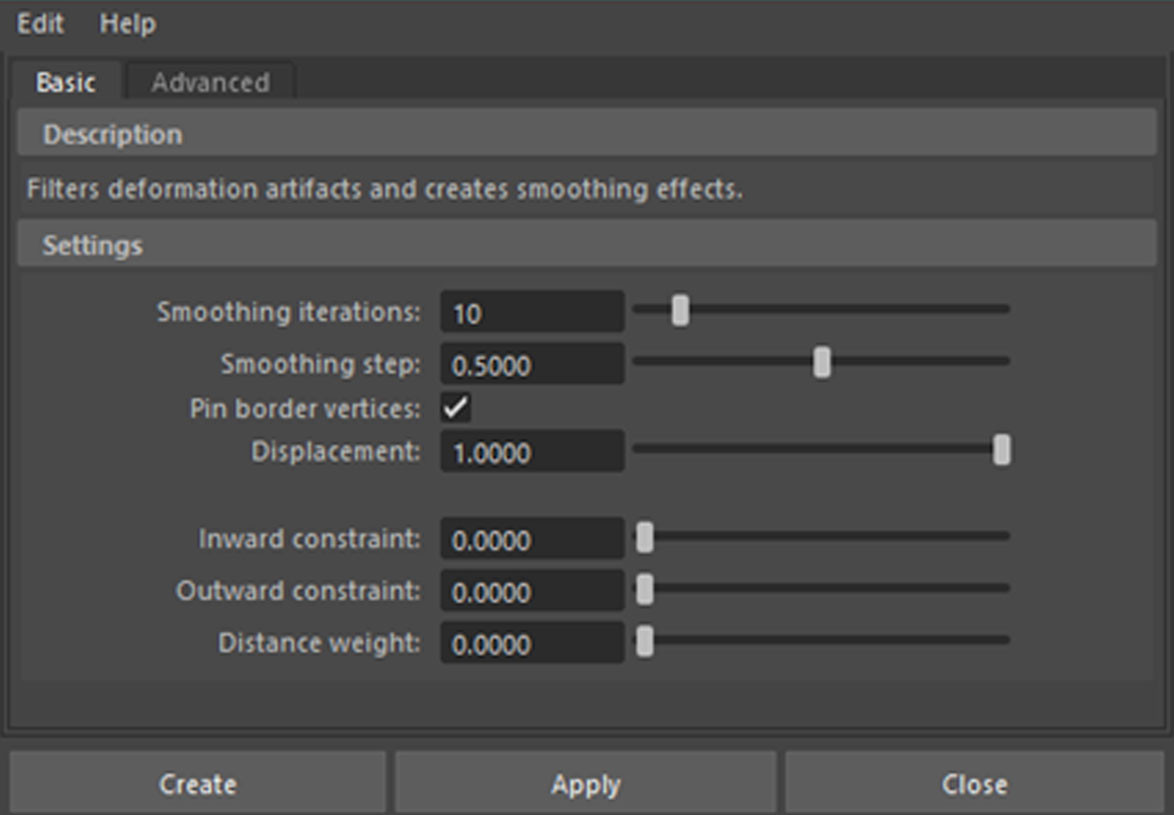
25 In the channel box, I configured the Delta Mush until reaching a satisfactory result.
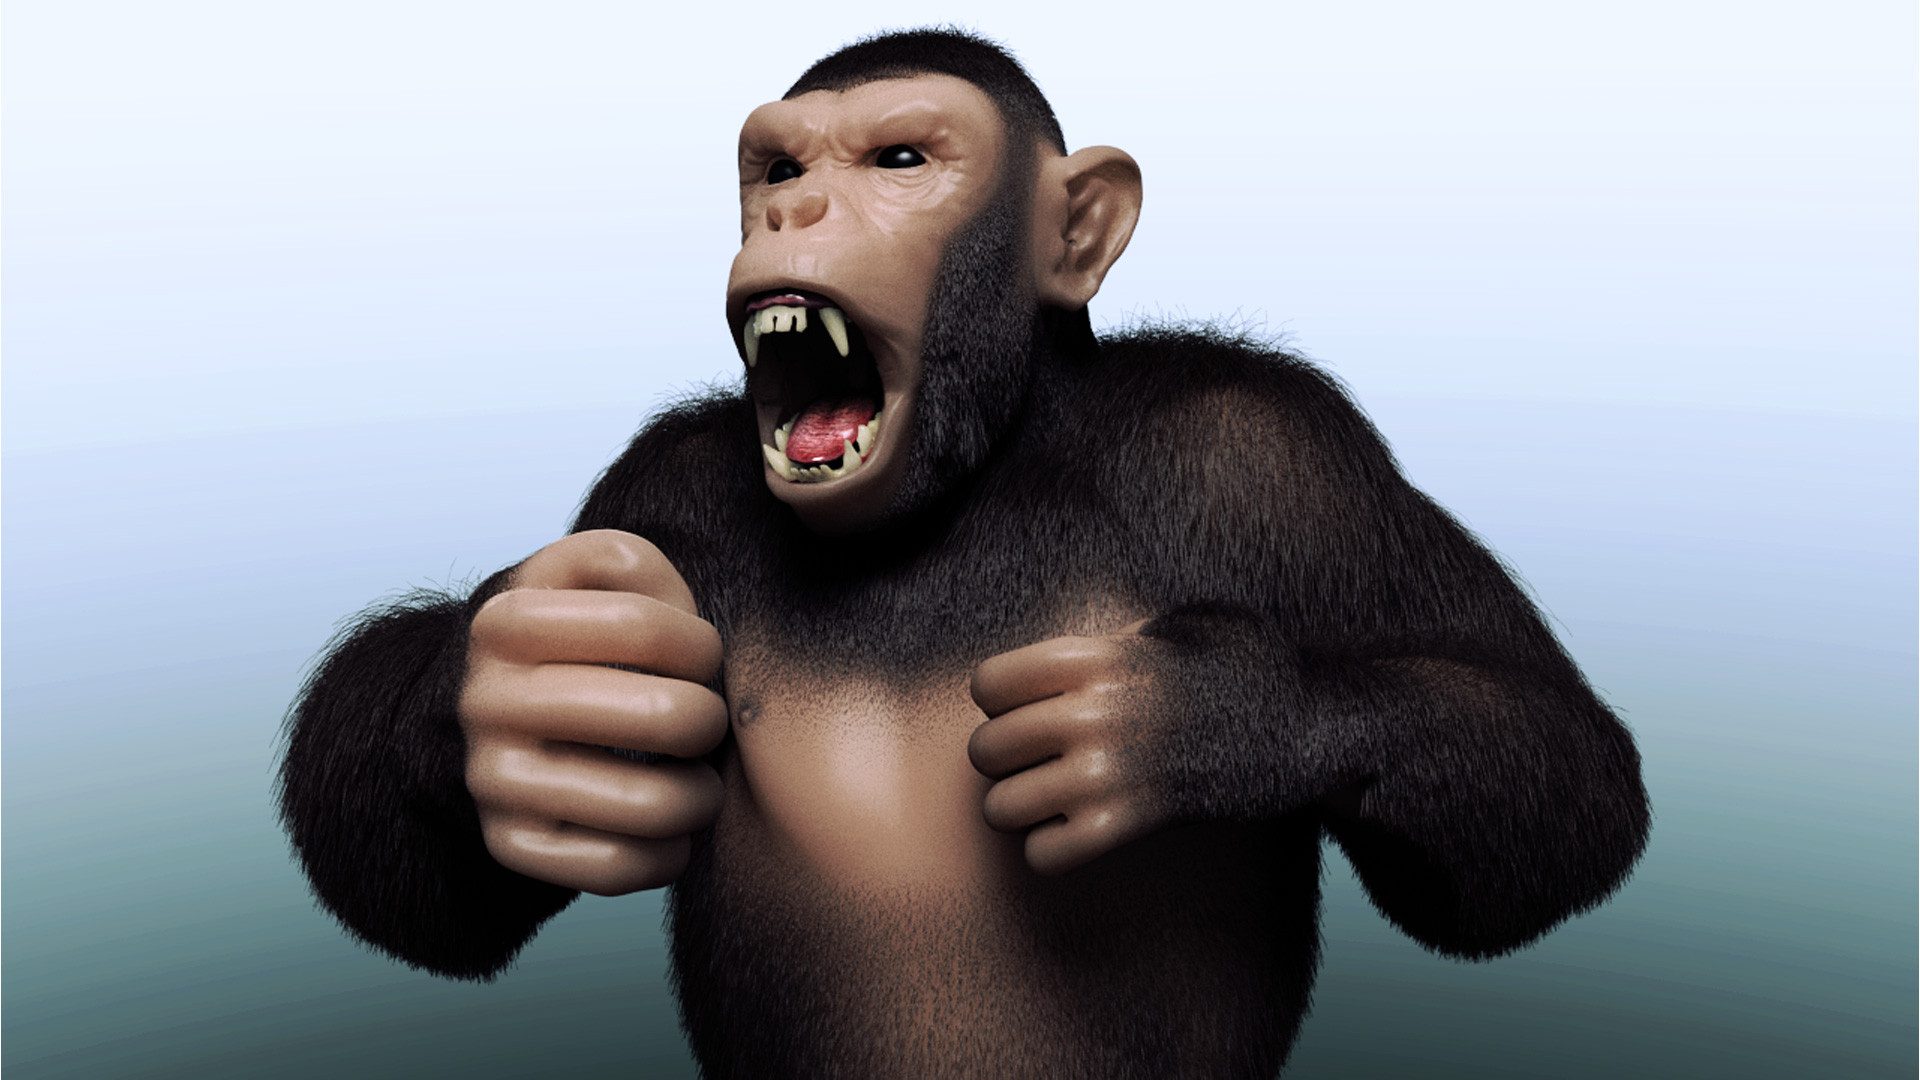
26 For the creation of hair I used VRay Fur. I confess that I learned in 40 minutes and so far I have no great experience with him 😊
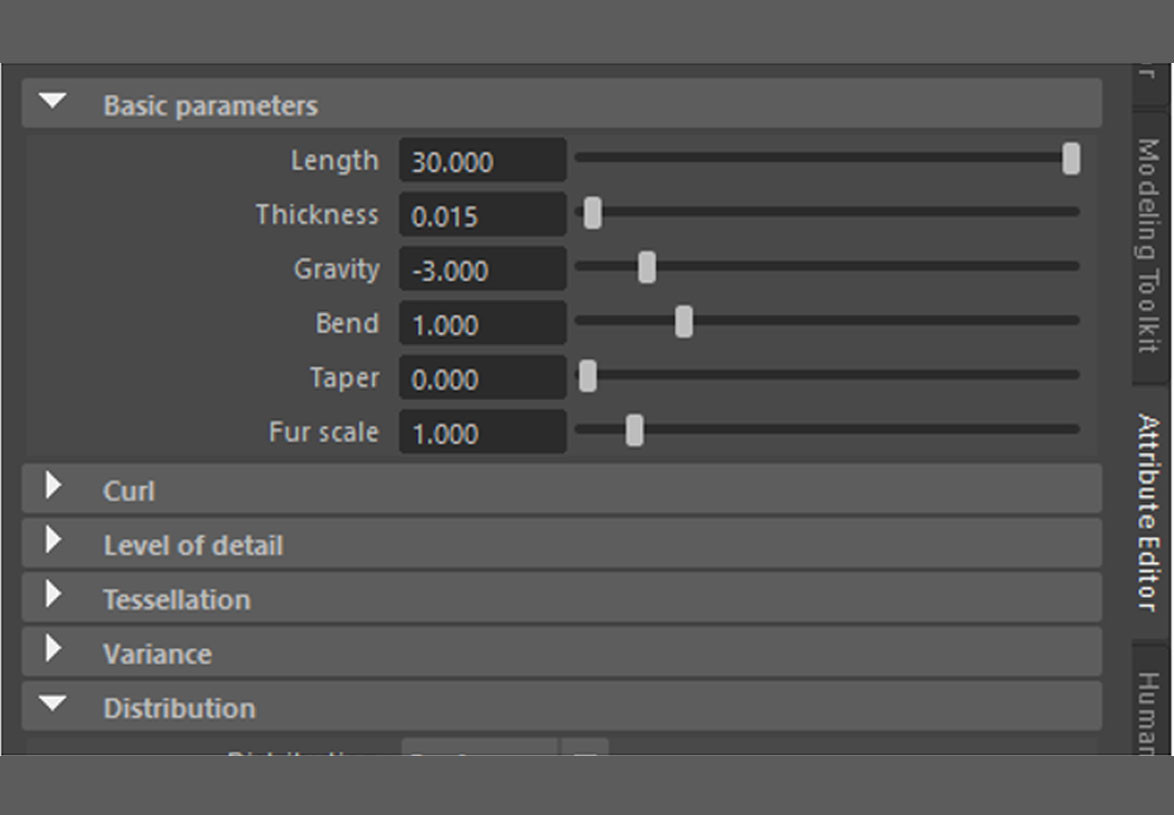
27 I applied VRay Fur to Chim.

27 In the Attribute Editor I configured Basic Parameters like this:
28 The big draw was in using the map to define the hair length. I exported the UV from the Chimp to paint its areas.
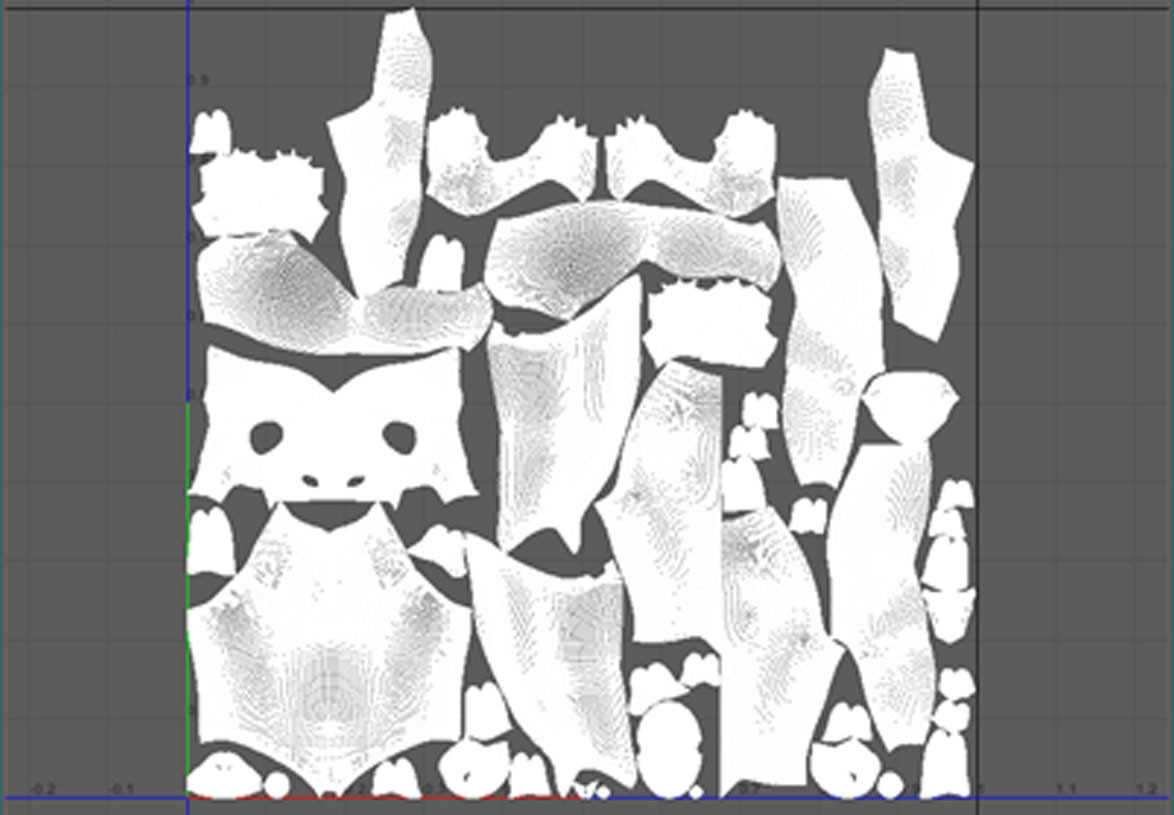
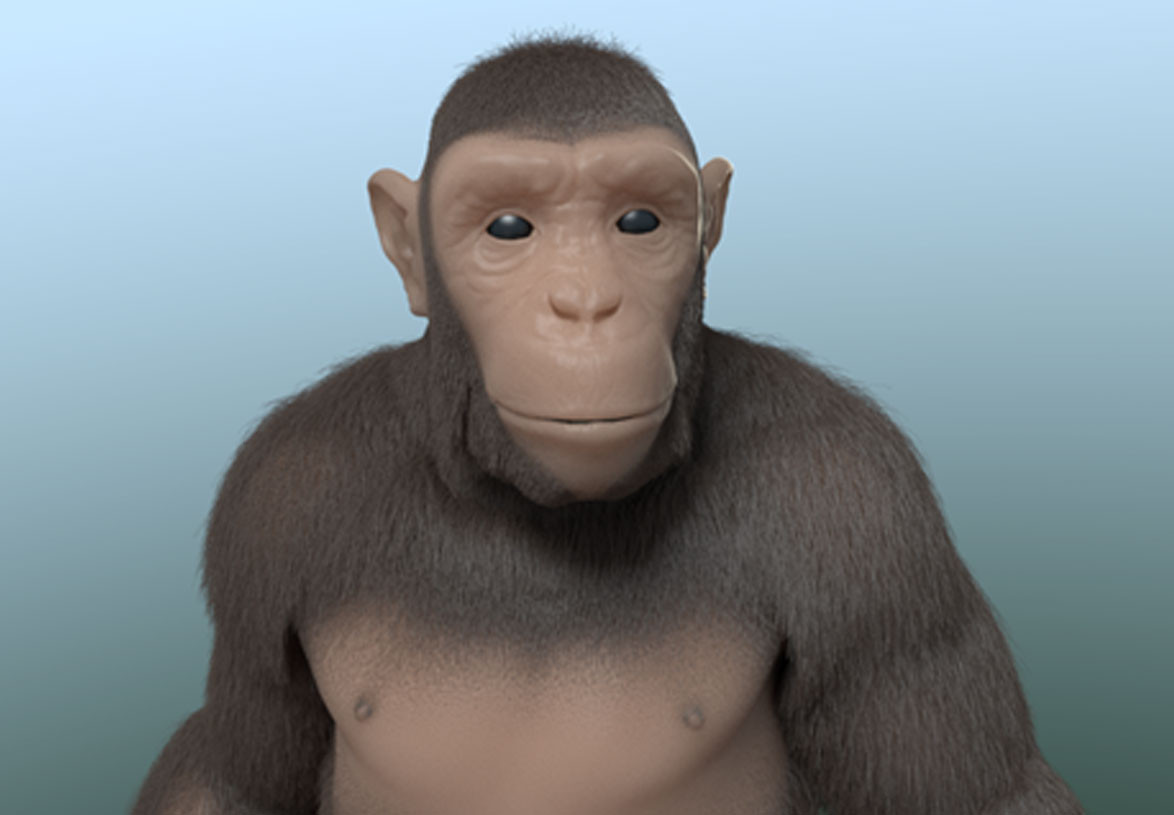
29 The result was this:

30 Create the lighting on VRay using 3 direct lights and 1 skydome:
31 I performed the first renderings.
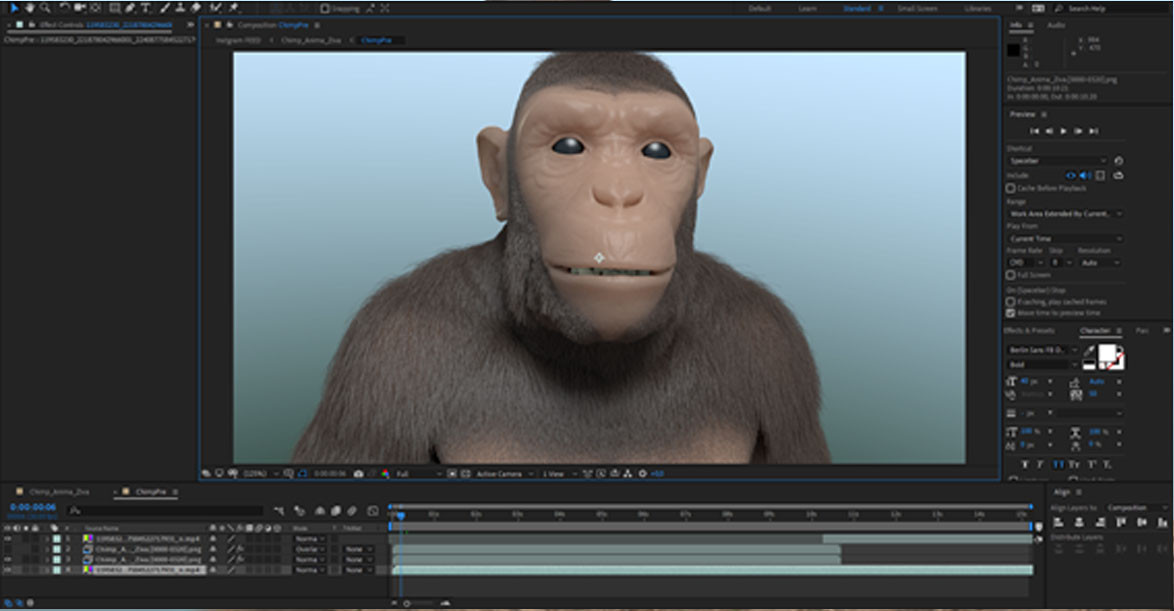
Post-production in After Effects
32 I rendered the animation in sequence of images and imported it into AE.
33 I applied a command sequence for light, shadow and colors:
Before
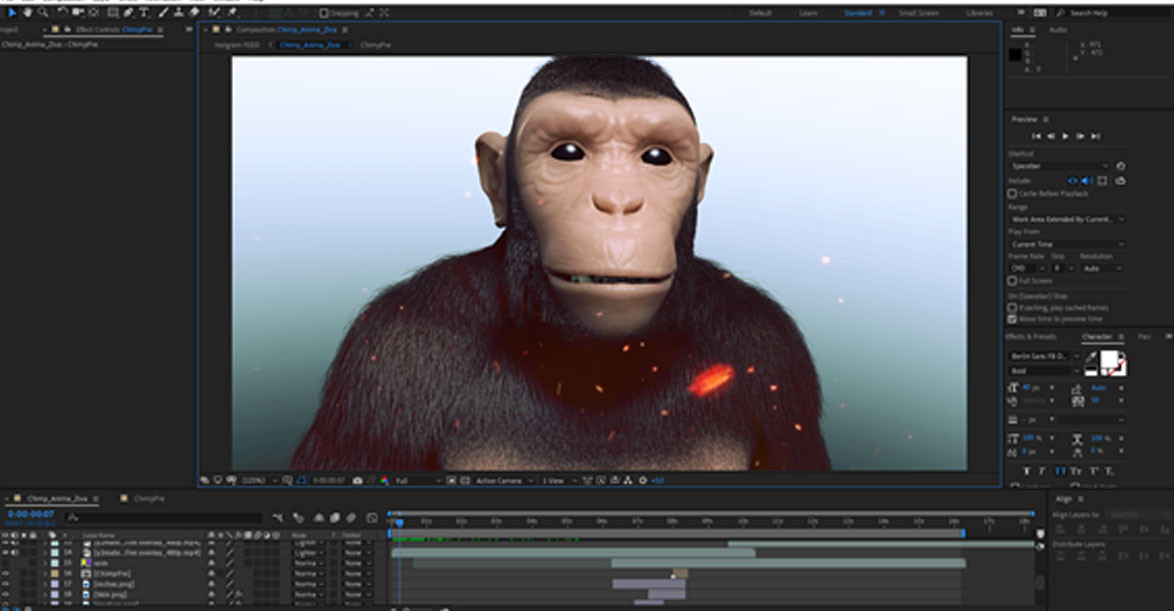
After
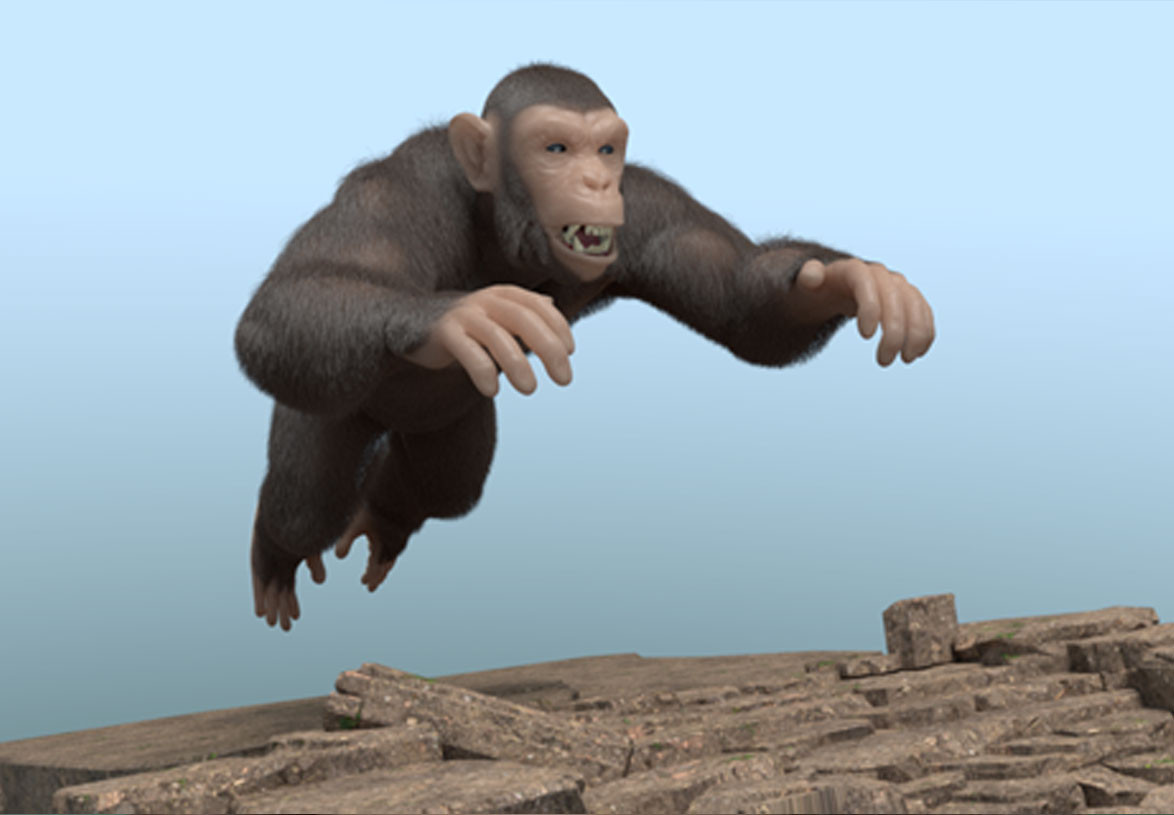
34 Well folks, that's basically it. Hope this helps. Below I leave some images of the renders of this project. Thanks.